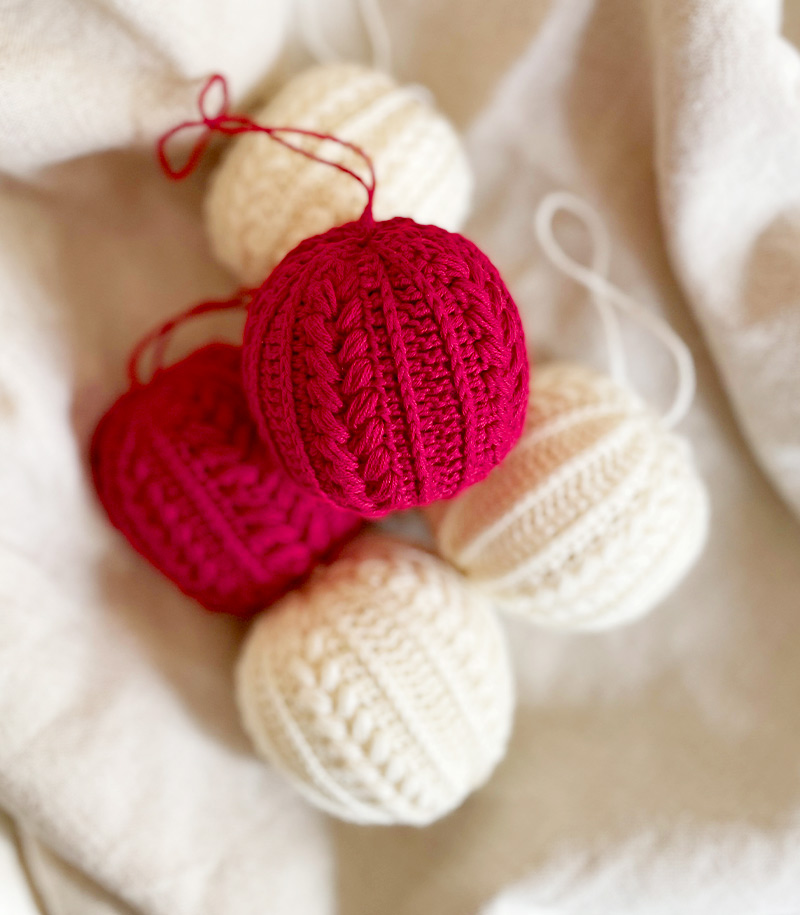
About Nanna’s Boob
Nanna is our golden retriever and she was a little one, when I made this pattern.
She absolutely loved it, when she got it! Like all the babies, I’ve eventually made one for, and I think it’s the oven bags that I put in, that gives a crackling effect, which is absolutely magical for small ears.
It’s quick to make, and a really nice and sweet thing to make for others.
Time to crochet: 1 hour
Skill level: Easy
Height: 8 cm

For the crochet pattern here on Nanna’s Boob, you must be able to make a magic ring (if you haven’t cracked the code on it yet, this video may help), crochet single crochets, increases and invisible decreases.
A color change must be made, and to make it completely invisible and beautiful, you can see the tip here: Invisible crochet finish
You can see a video on stitching here: Finishing of Amigurumi
Click on the links here, or scroll all the way to the bottom to see videos on the techniques.
What you need
Tools
Materials
Støt Milla Billa
Hvis du finder glæde ved mine opskrifter og og kan bruge mit indhold, kan du støtte op om Milla Billa lige her – så kan jeg blive ved med at lave skønt indhold til dig. Læs mere om, hvorfor de gratis opskrifter er så vigtige for mig, ved at klikke herunder.
På forhånd mange tusinde tak 🙏❤️🤗


Before you get started
Magic ring, single crochet and increases
Watch the video here on a magic ring, where I also show single crochet and increases:
Magic ring – crocheted in a spiral
If you are new to crochet and have not yet cracked the code on the magic ring, you can watch the video here, that might help you:
Invisible color changes
There are many ways to make the invisible color changes, and I think this is the best way for this one, because I only have to change color 1 time (between the nipple and the rest of the boob). Here I attach the thread to the nipple as shown in the video, and start the next thread in a random stitch:
Invisible decreases
When you crochet amigurumi, it’s best to make your decreases “invisible” – meaning that you only crochet in the front loops, on the two stitches that are pulled together. You can see it in the video here: Invisible Decrease
One more tip is to tighten really hard in the following single crochet. I’ve found, that when I crochet decreases, sometimes holes appear in my piece, but if I keep the yarn very tight on the stitch I’m making after (here it’s single crochets), it will be nice and firm 😁👌
Parentheses in a pattern
Everything that is in parentheses must be repeated consecutively the x number of times that follows.
Example:
“(1 A, 1 B, 3 C) 2 times” is “A, B, C, C, C, A, B, C, C, C”.
Various designs

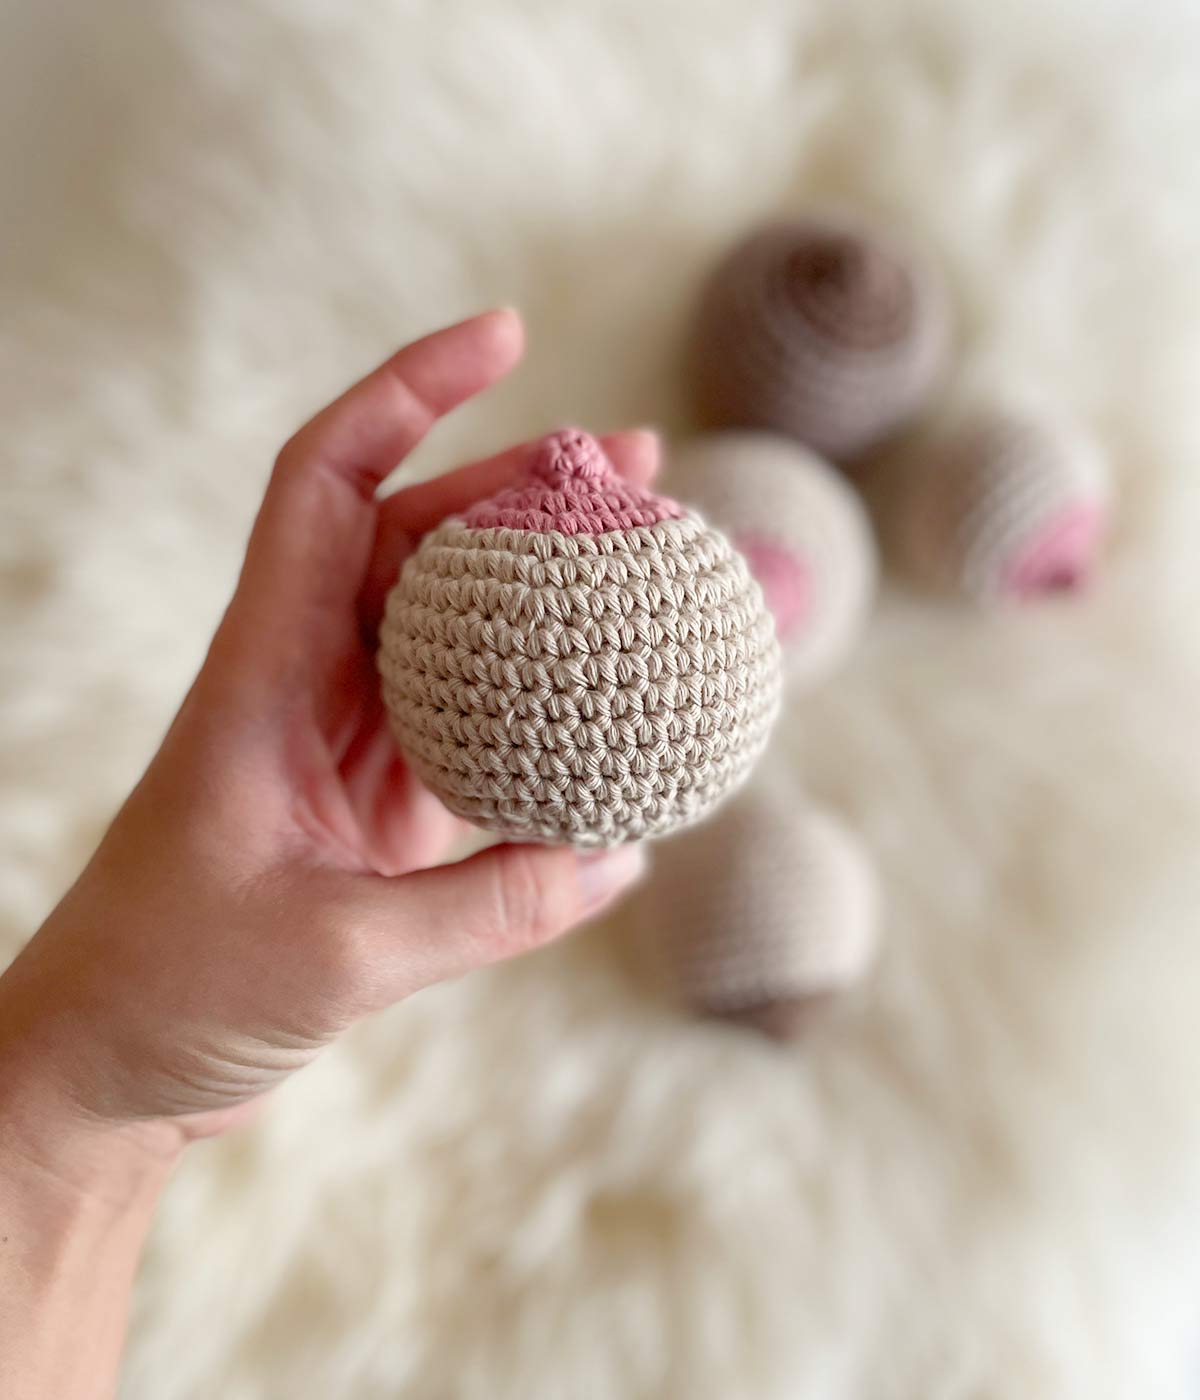
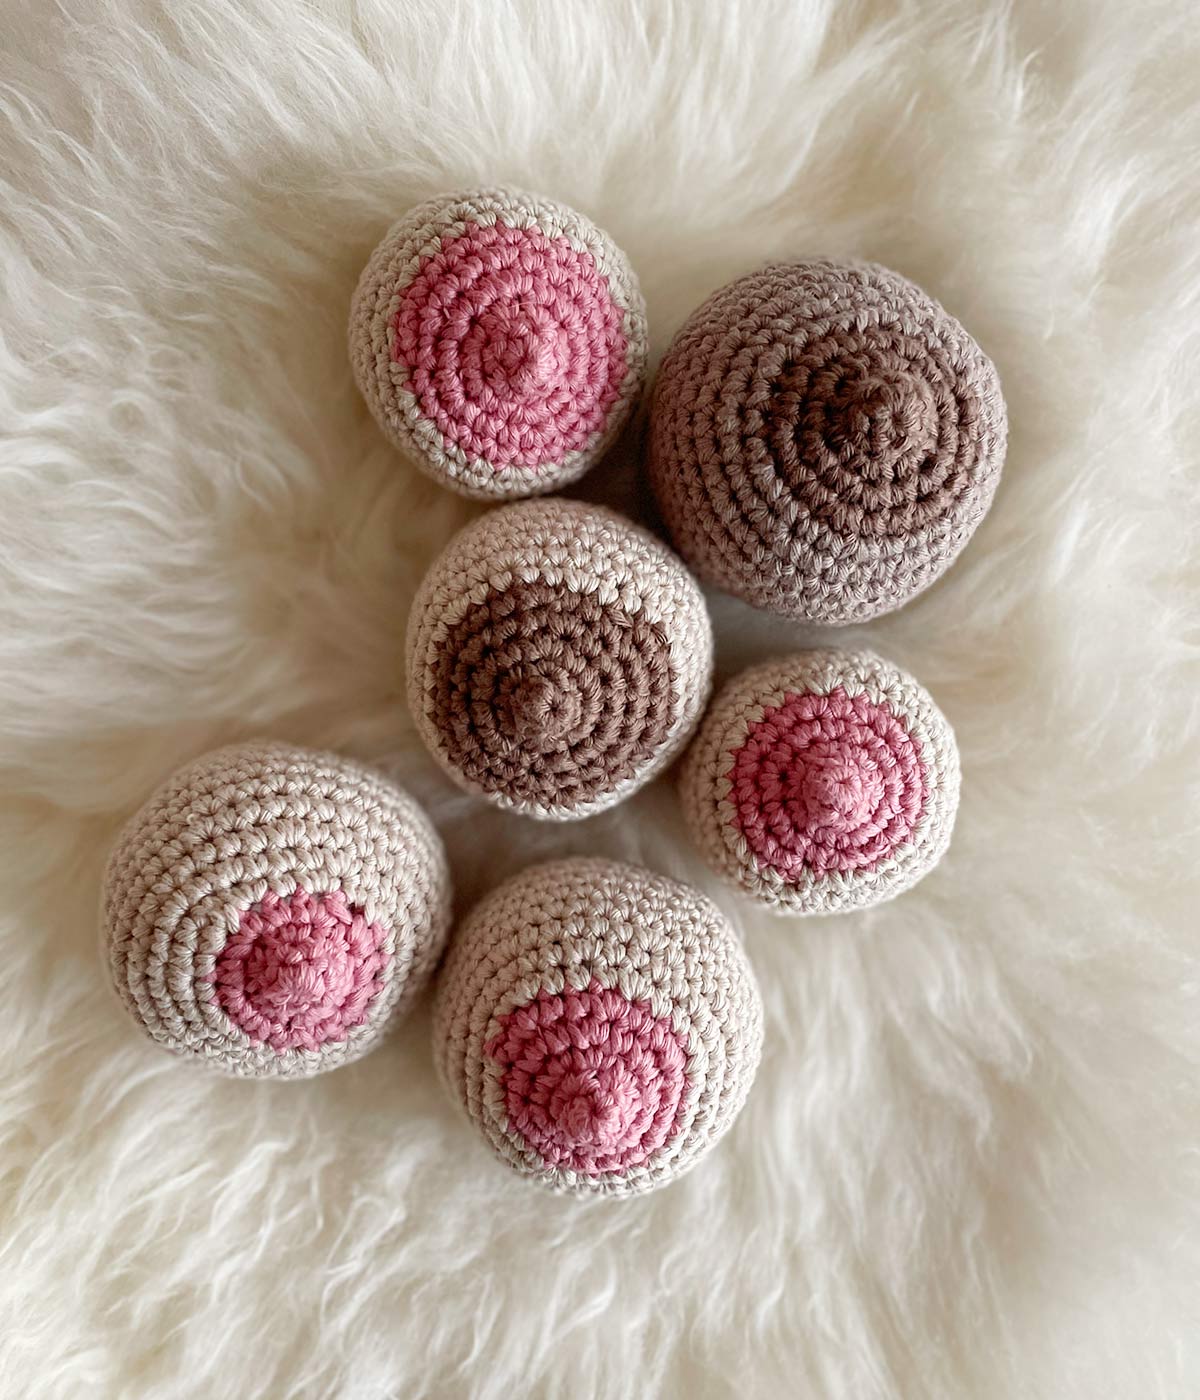
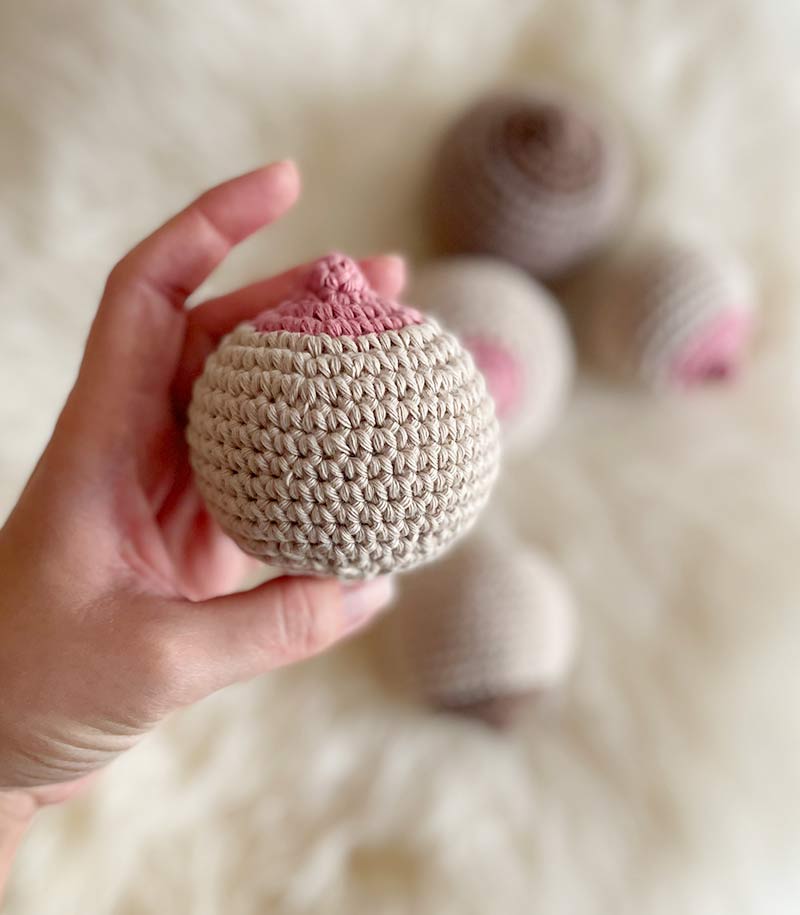
The circumference of the nipple can be adjusted, so that you get it just the way you want it. You can either make the color change earlier or later than indicated, to make it either smaller or larger.
The size of the dot can also be adjusted, if you would like it to be larger: Make more single crochets in round 2 to make it higher.
The colors are also a big factor, so you can make it exactly as you want it 🤗
Pattern on Nanna’s Boob
R: Round
SC: Single Crochet
S: Stitch
Inc: Increase
Dec: Decrease

STEP 01.
Nipple
You start by crocheting the nipple.
Start: Magic ring
R 1 6 single crochet in the first round of the magic ring (6 s)
R 2 6 sc is made in the first 6 sc (1 in each) + 1 sc in each of the next 2 stitches (6 s)
R 3 (1 inc) x 6 (12 s)
R 4 (1 sc, 1 inc) x 6 (18 s)
R 5 (1 sc, 1 inc, 1 sc) x 6 (24 s)
Cut the yarn and attach it completely invisibly as in the video here:
Invisible crochet finish

STEP 02.
The rest of the boob
The rest of Nanna’s Boob is now crocheted in a different colour.
Start in a random stitch: Wrap the yarn around your fingers, insert the hook into a stitch, pull back the yarn and make a slip stitch that you tighten (it should not be crocheted again, but just act as a knot). The yarn is now attached. Pull the loop a little, so that it gains a little height, and make your first stitch, in the same first stitch that you attached the yarn to:
R 6 (3 sc, 1 inc) x 6 (30 s)
R 7 (1 sc, 1 inc, 3 sc) x 6 (36 s)
R 8 (5 sc, 1 inc) x 6 (42 s)
R 9-14 Sc the entire round (note that it is the next 6 rows) (42 s)
R 15 (5 sc, 1 dec) x 6 (36 s)
R 16 (1 sc, 1 dec, 3 sc) x 6 (30 s)
R 17 (3 sc, 1 dec) x 6 (24 s)
R 18 (1 sc, 1 dec, 1 sc) x 6 (18 s)
Now it has to be filled…

STEP 03.
Fill and finish
Now it must be filled with all the exciting things!
I use a bit of pillow fiber filling, 4 small rattles and strips of oven bags. I cut the oven bags into 3-4 cm thickness, and kept them the width they had from the pack. I curl the strips a little and put them in right on the sides, because then it is easiest to hear them crackling. Don’t fill them too hard or they won’t crackle as well.
Then you have to close it off, and it may be a little hard on the fingers, but keep it tight – it will be the nicest:
R 19 (1 sc, 1 dec) x 6 (12 s)
R 20 (dec) x 6 (6 s)
For finishing off I use this technique:
Finishing off amigurumi
Would you look at that 😍
Look! At what you’ve made with your skilled hands! Congrats and enjoy it for a little moment, before you get started on the next 😍💪❤️
I have made some helpful videos that should make it easier for you to understand the pattern. It’s just usually easier in live pictures 🙂 All videos are made and edited by Milla Billa. Music by www.bensound.com