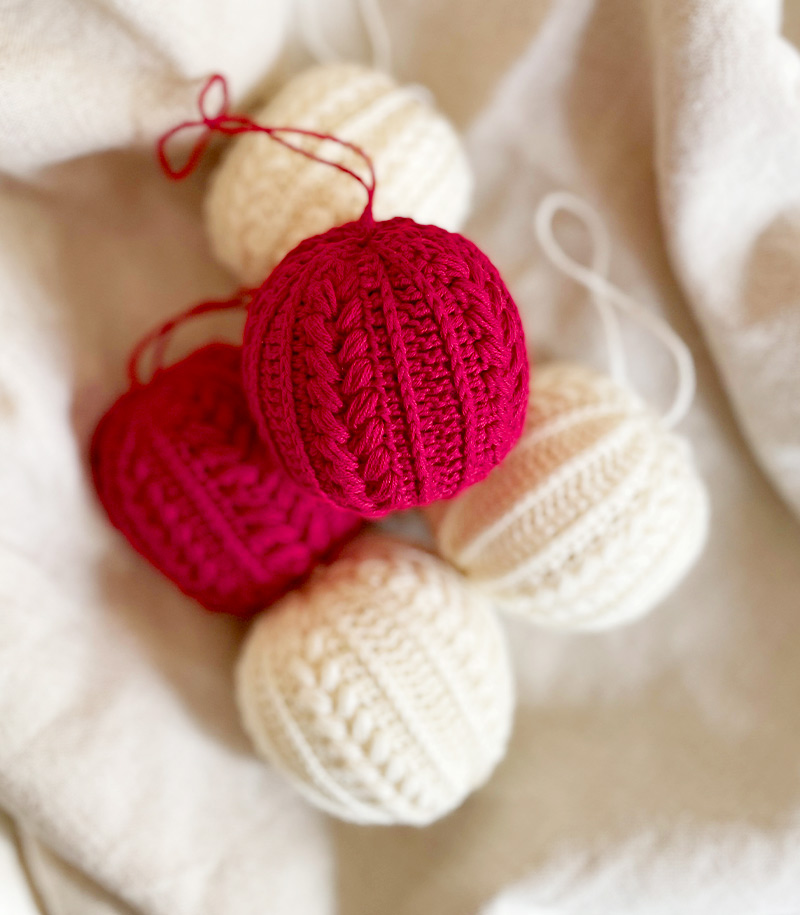
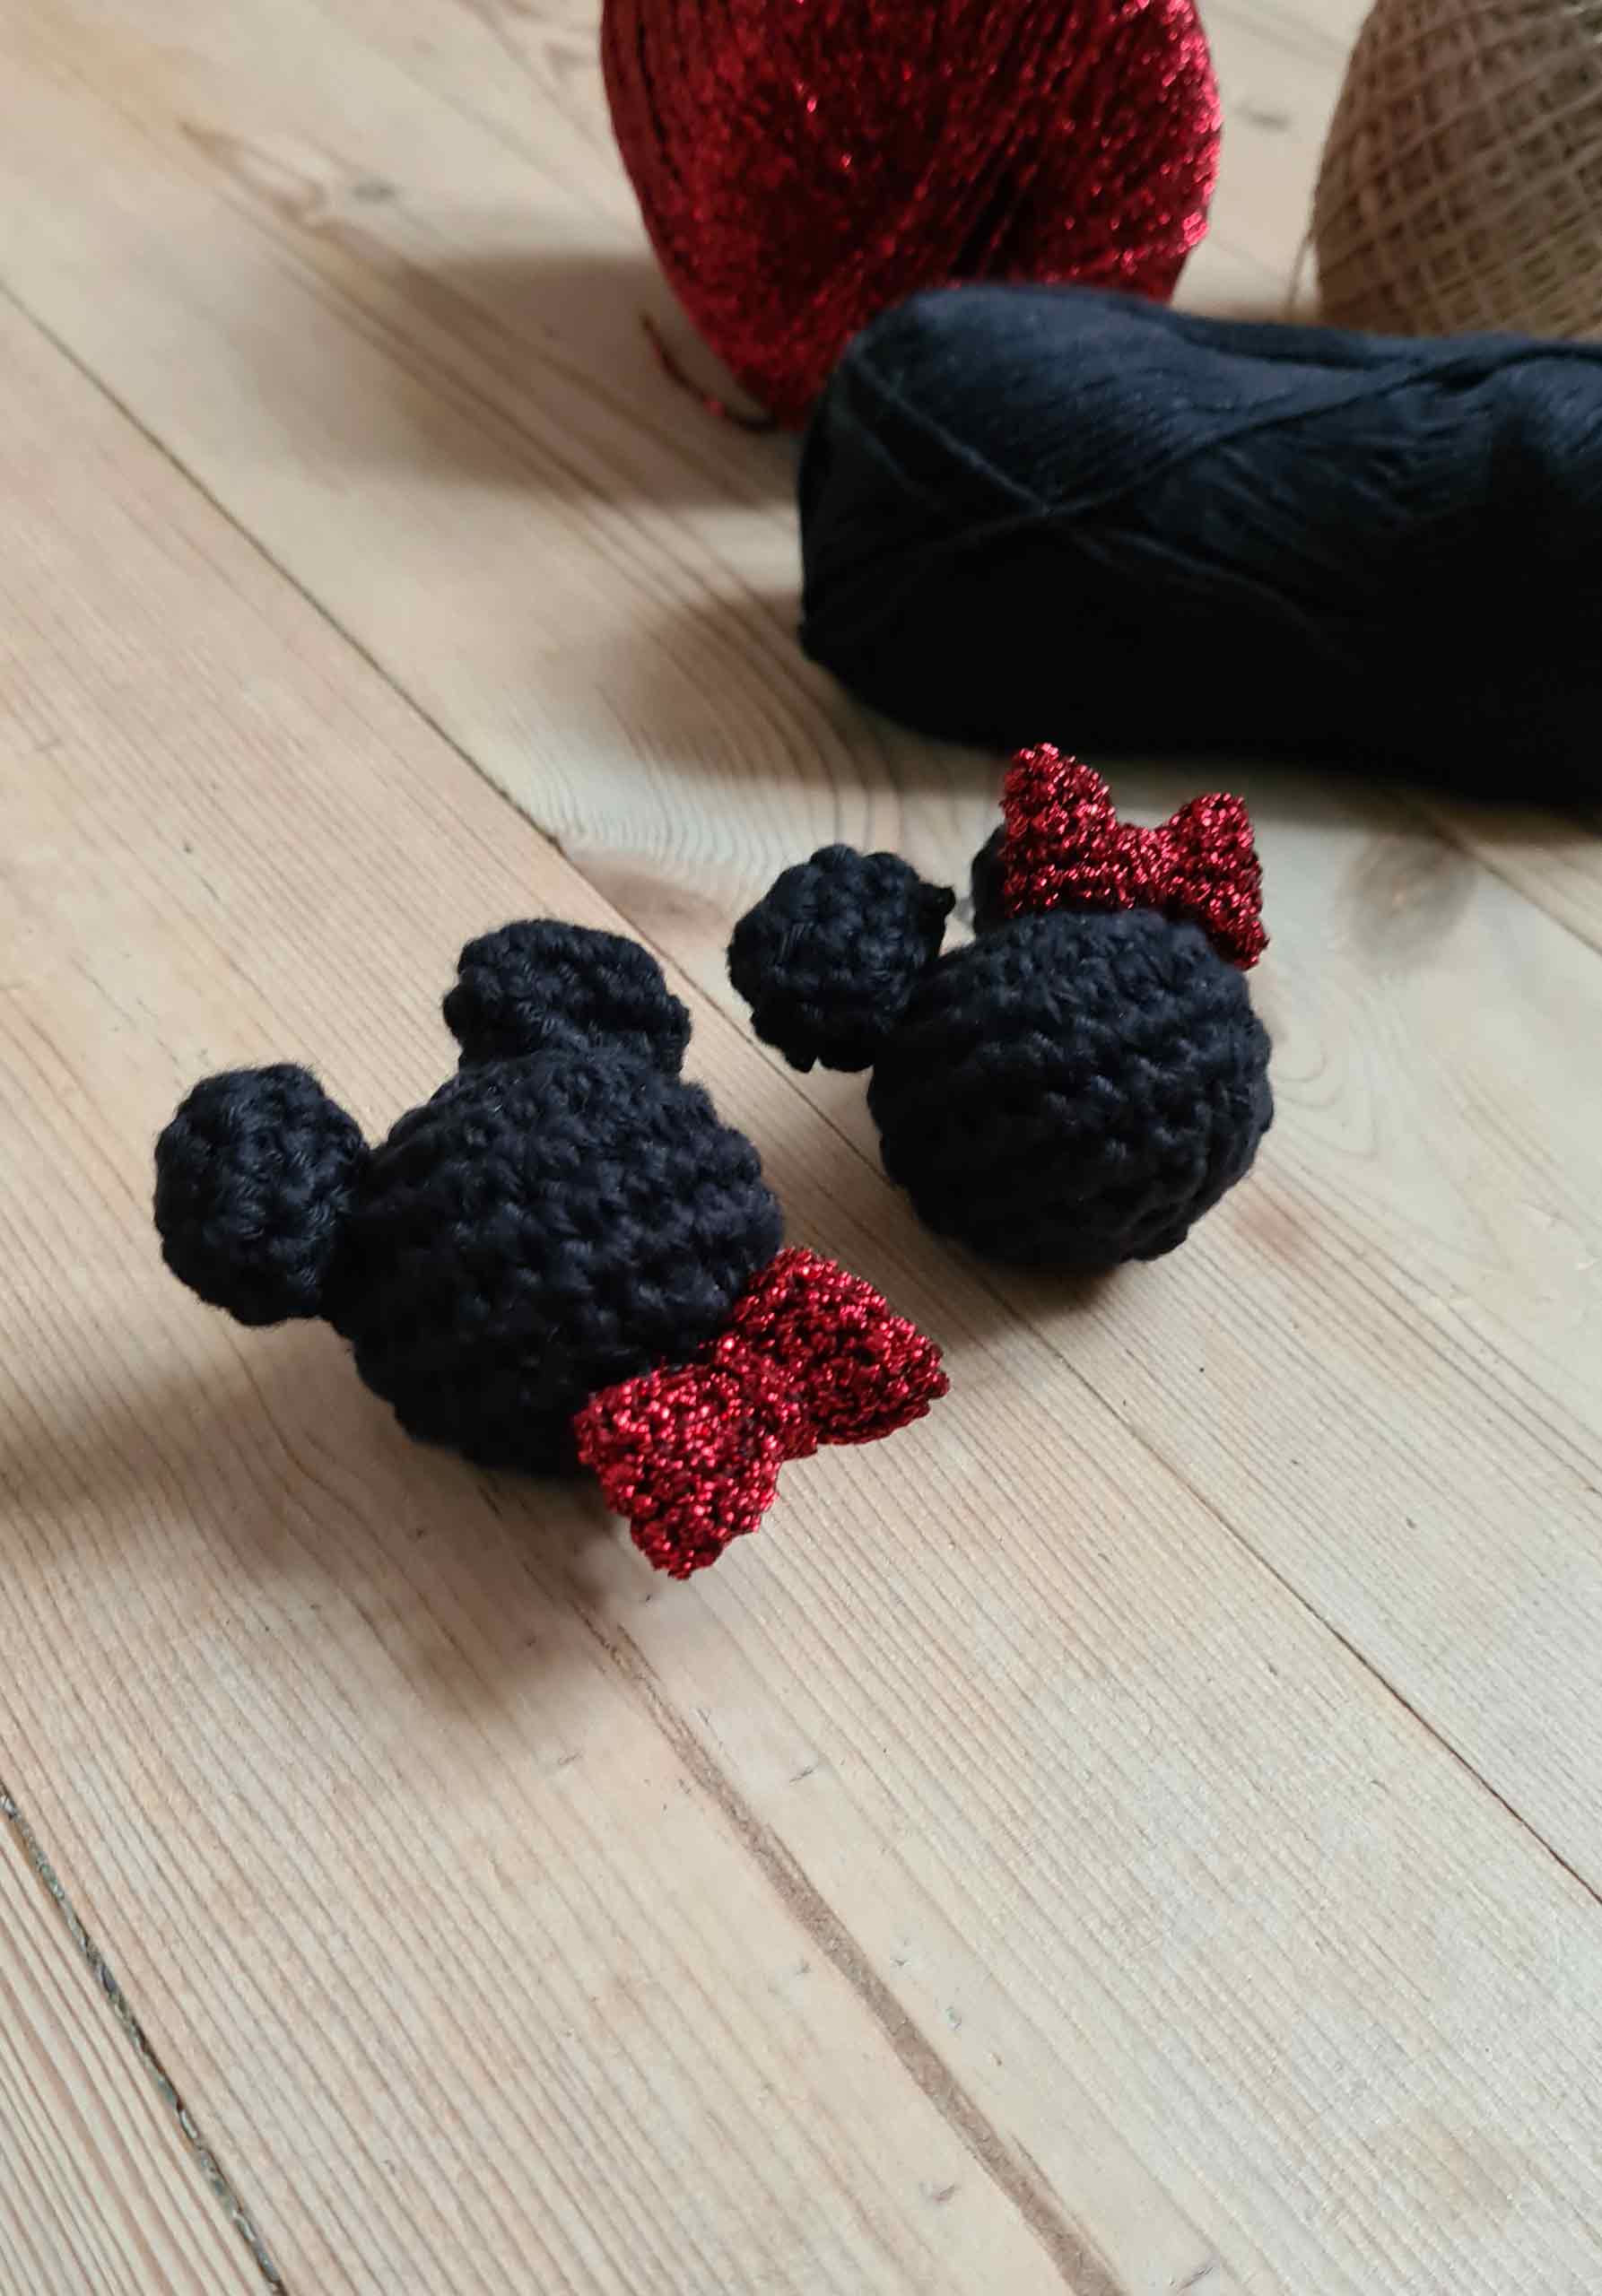
About the Minnie & Mickey Ornaments
Inside all adults there is a kid. My inner kid is probably a little bigger than other people’s good inner kids, so this year there is some Disney characters on the tree 😀
I love the simple designs, where you don’t get to many clues to recognize, what it is. Therefor I really like these simple editions 🙂
Time to produce: 50 minutes
Skill level: Medium
Size: 7 x 7 cm

For this crochet pattern on Minnie & Mickey Ornaments, you have to be able to make a magic ring with increases, invisible decrease, finish and a chain with single crochet.
Pattern
Tools
Materials
Støt Milla Billa
Hvis du finder glæde ved mine opskrifter og og kan bruge mit indhold, kan du støtte op om Milla Billa lige her – så kan jeg blive ved med at lave skønt indhold til dig. Læs mere om, hvorfor de gratis opskrifter er så vigtige for mig, ved at klikke herunder.
På forhånd mange tusinde tak 🙏❤️🤗


Start with the head
Here you see all the parts that need to be crocheted for the ornament.
You start with the head, which is crocheted with a 3.5 mm hook and 2 threads of cotton yarn at the same time. If you only have 1 key yarn, you take both the thread from the inside and the one from the outside.
(Parentheses)
What is in parentheses must be repeated and multiplied by the number of times after the parentheses. For example “(1 increase (inc), 1 single crochet (sc)) 6 times” is therefore “1 inc, 1 sc, 1 inc, 1 sc, 1 inc, 1 sc, 1 inc, 1 sc, 1 inc, 1 sc, 1 inc, 1 sc” .
Beginning: Make a magic ring with 6 single crochet.
ROUND 1 6 increases (short “inc” = 2 single crochet (sc) in the same stitch) (12 stitches)
ROUND 2 (1 inc, 1 sc) 6 times (18 sts)
ROUND 3 (1 inc, 2 sc) 6 times (24 sts)
ROUND 4 24 sc (24 sts)
ROUND 5 24 sc (24 sts)
ROUND 6 (1 decrease (short “dec” and is 2 sc, you crochet into 1 sc), 2 sc) 6 times (18 sts)
ROUND 7 (1 dec, 1 sc) 6 times (12 sts)
Put in filling. (If you crochet “on the wrong side” (like me), then the right side (the nice side) turns out, when the string from the beginning of your magic ring is inside the ball. So if the string sticks out at the bottom, when you get to here, turn the whole thing inside out before you put in filling 🙂 )
ROUND 8 (dec) 6 times (6 sts)

Ears and assembling
And now the ears. You crochet 2 of them with hook size 3.5 mm and 2 threads of cotton yarn 8/4 at the same time.
Beginning: Make a magic ring with 6 single crochet.
ROUND 1 6 inc (12 stitches)
ROUND 2 12 sc (12 sts)
ROUND 3 6 dec (6 sts)
Cut the yarn and leave 10-ish cm to attach the ears.
The ears is not filled 🙂
Assembling
Pins are perfect to use, when you need to assemble, as they can help you hold the parts in place. I use 4 per. ear (two at the front, two at the back). While sewing on the ears, remove the pins as you get to them.

Bow / bowtie
You make two bows / bowties. You crochet them with a hook 2 mm and 1 thread of glittery yarn. (It may be a bit of a struggle, so find a good and bright place, so you can see the stitches.)
Turning chains
In each row, end with a chain (ch). It’s a chain you make, to get up to the next row. It’s a stitch you skip, so you start each row in the 2nd stitch from the hook.
There are two parts: The larger part and the small part.
The larger part
Beginning: Chain 21
ROW 1-5 20 sc, 1 ch, turn (20 sts)
Cut and leave 10-ish cm to sew it together.
The smaller part
Beginning: Chain 7
ROW 1-2 6 sc, 1 ch, turn (6 sts)
Cut and leave 10-ish cm to sew it together.

Assembling
Take a look at the pictures here for help: Crochet Christmas Bow
You sew the larger part together, where you gather the two shortest ends. Then you pull the small part tightly around the middle, and sew it together around the big one. Then attach the part to the head.
Now just put the strap in and your Minnie & Mickey Ornaments up on the tree! Yay 🙂
Here you find some helpful videos, so you can make the pattern. Especially if you are a beginner (If you are: You’re awesome – am cheering for you!). It is a bit easier to understand with live pictures  Milla Billa made the design and editing. Music was by www.bensound.com.