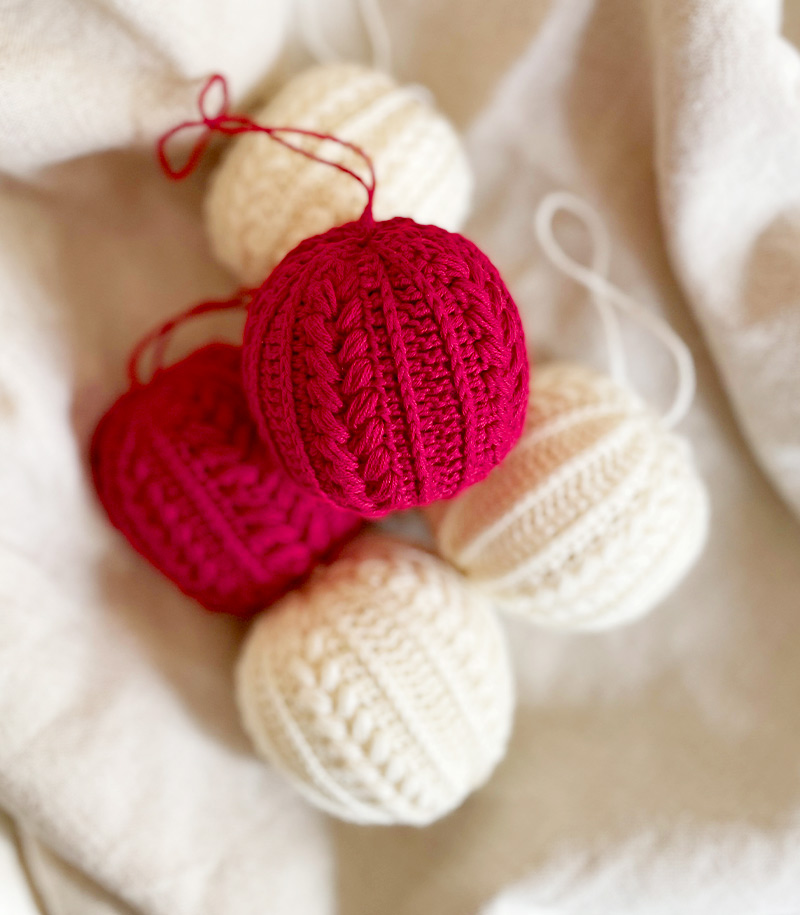
About the Bobble Holder
Now that all this corona has calmed down a bit, I can FINALLY get to see Annemette, their new house and their new little puppy! 😍❤️ So I thought, a nice set of potholders, was just what was needed 🤗
Annemette is a friend I have, that goes back to the Graphic Design education. We connected during the first few days, and have kept in touch ever since. She is one of the sweetest and best people I know, and words like presence, care and understanding pops up, when I try to describe how she is. And she’s insanely creative and really really good at it 👏👌
She’s a keeper! ❤️
(Scroll down for the free version on the page here)
Time to make a set: 3 hours
Skill Level: Easy
Size: 17 x 20.5 cm
10 x 10 cm = 17 s x 18 r


This “Annemette Bobble-Potholder” is a pattern, where you only need to be able to make the Bobble Stitch and Single Crochet, so it’s not that demanding.


Before you get started
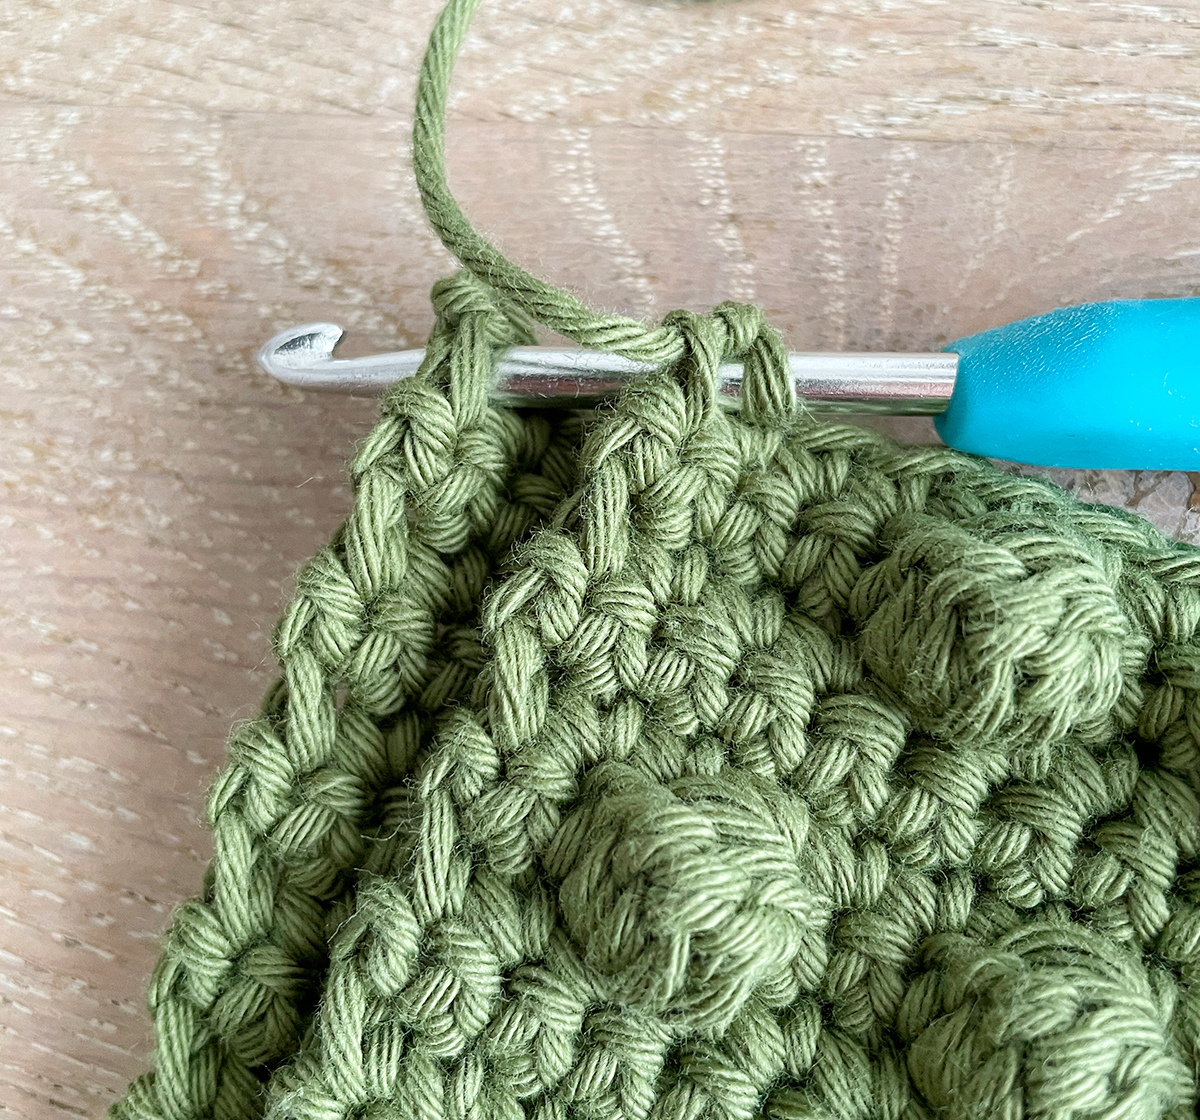
The Bobble Stitch (bs)
For this Bobble-Potholder you make 4 unfinished double crochet and a single crochet. It fills two stitches.
You can make 5 unfinished double crochet stitches, is you like the bigger bobbles, but I think 4 is perfect for this.
Turning Chain (tch)
A turning chain is a chain you use, to get up on the next row. It’s not a stitch you have to crochet in again, so it does not count in the “stitch account”. You make it at the end of each row, just before you turn, and it gives a little height to get up, and you therefore avoid getting wavy edges.
Støt Milla Billa
Hvis du finder glæde ved mine opskrifter og og kan bruge mit indhold, kan du støtte op om Milla Billa lige her – så kan jeg blive ved med at lave skønt indhold til dig. Læs mere om, hvorfor de gratis opskrifter er så vigtige for mig, ved at klikke herunder.
På forhånd mange tusinde tak 🙏❤️🤗


Pattern
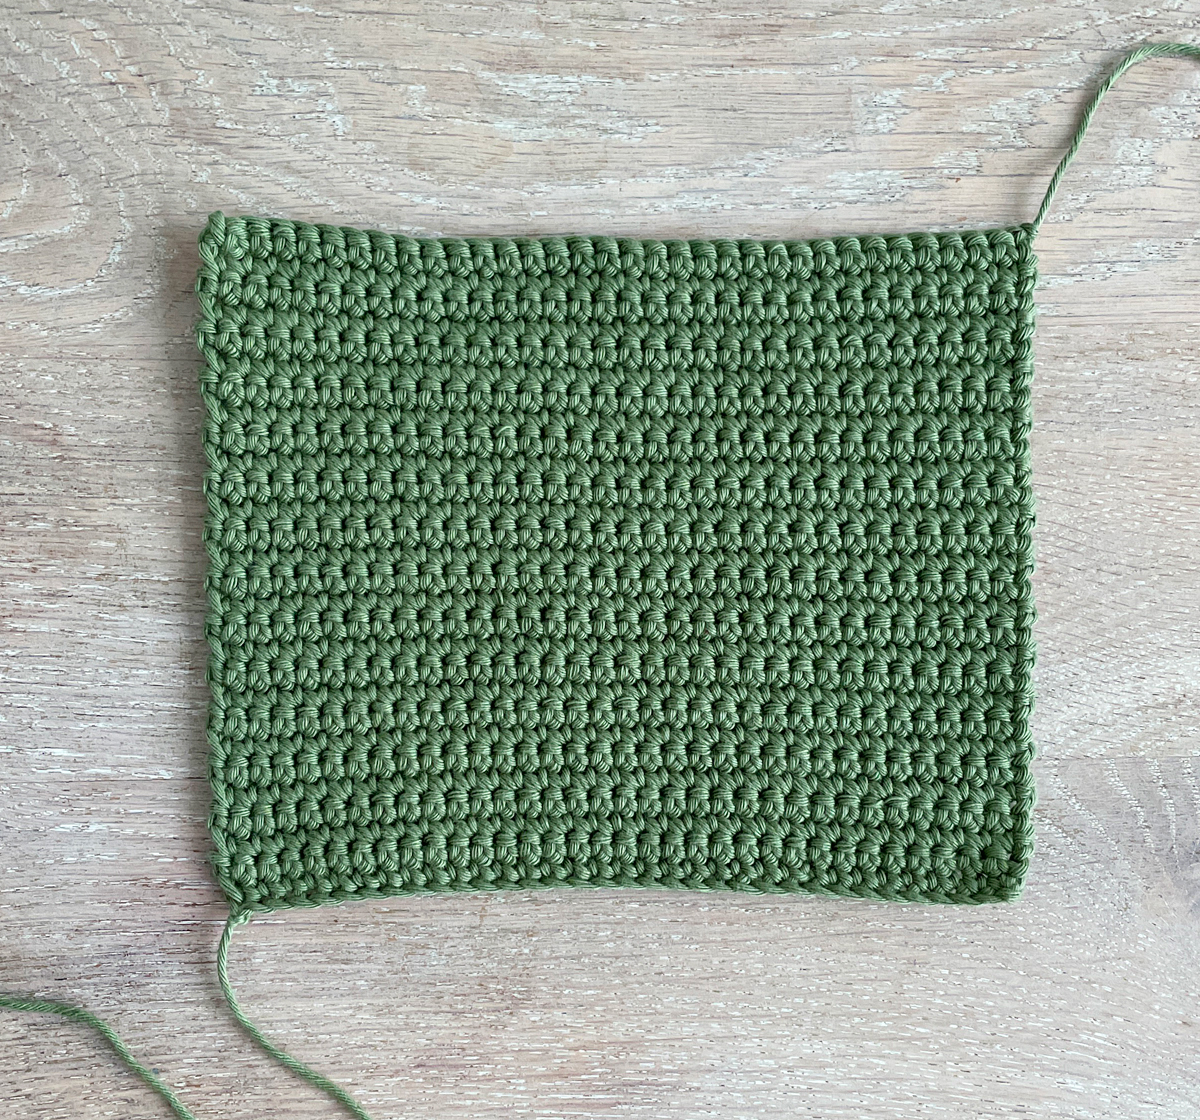
The backside
On this “Annemette Bobble-Potholder” you start with the back, because you crochet the two pieces together from the front, when that’s done.
Start: Use hook 4 mm and chain 33 + 1 tch and turn. Crochet them a little loosely.
ROW 1-27 33 sc + 1 tch, turn
Finish with a chain, tighten that and break the yarn.

The frontside
The front end on “Annemette Bobble-Potholder” ends up being 7 rows of bubbles (27 rows including the single crochet rows) with 7 or 8 bobbles in each, with three rows of single crochet in between.
Start: Use hook 4 mm and chain 33 + 1 tch. Crochet them a bit loosely.
ROW 1 33 sc, 1 tch, turn
ROW 2 4 sc, (1 bs, 2 sc) 7 times, 1 sc, 1 tch, turn
ROW 3-5 33 sc, 1 tch, turn
ROW 6 2 sc, (1 bs, 2 sc) 7 times, 1 bs, 1 sc, 1 tch, turn
ROW 7-9 Repeat row 3-5
ROW 10 Repeat row 2
ROW 11-13 Repeat row 3-5
ROW 14 Repeat row 6
ROW 15-17 Repeat row 3-5
ROW 18 Repeat row 2
ROW 19-21 Repeat row 3-5
ROW 22 Repeat row 6
ROW 23-25 Repeat row 3-5
ROW 26 Repeat row 2
ROW 27 Repeat row 3
Finish with a chain, tighten – don’t break the yarn, since you need it, to crochet the pieces together.
Crochet the pieces together
Start
Hold the pieces together, so you have the front piece facing you. Insert the crochet hook through both pieces and crochet the pieces together with sc all the way around.
The corner
When you get to the corner crochet 2 sc together in the last stitch, turn around the corner, crochet 2 sc again on the other side of the corner. It gives the nicest edge.

Leather on!

Now the strap and tag must be attached. It’s easiest to start with the strap, and then place the tag after it.
The strap can be a bit of a bandit, so here a pair of pliers is a pretty good aid.
Take a larger crochet hook or something round and a little thick. Insert it through the corner, where you want the strap to be, to widen the hole, and let it sit there for a bit.
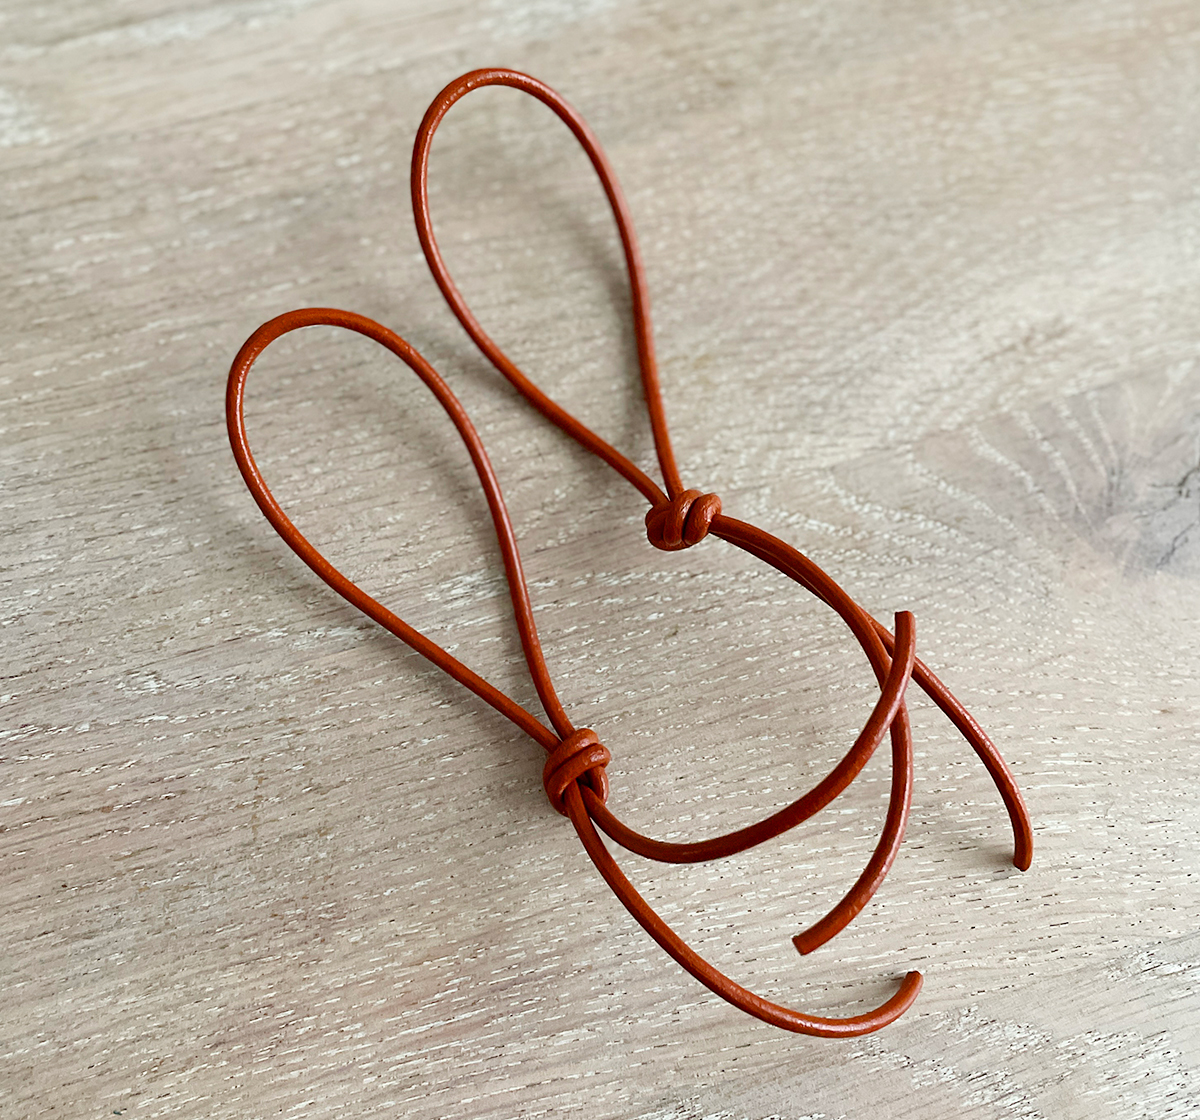
Cut off the length you want. I cut 50 cm, so I have enough for knots and don’t waste too much. Tie a knot, so that the strap is 7-8 cm in height.

Pass the ends through the hole. You can use pliers to get it pulled through, and tie a knot on the other side. Cut off the excess leather ends.

Sew the “Handmade”-leather tag in and da da da daaaaaa: It’s done! 😀 You now have you own set of the “Annemette Bobble-Potholder”.
Here you find some helpful videos, so you can make the pattern. Especially if you are a beginner (If you are: You’re awesome – am cheering for you!). It’s a bit easier to understand with live pictures  Milla Billa made the design and editing. Music was by www.bensound.com.