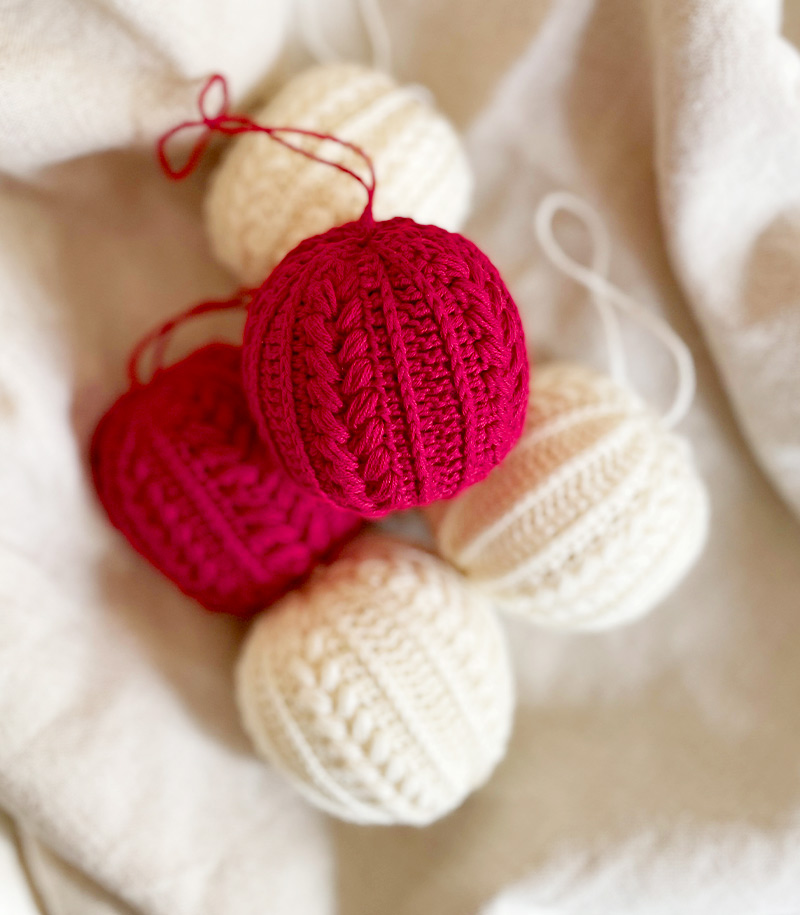
About Stine Potholder
My friend Stine is one of the best! She is an amazing friend, who takes such good care of all those, she has around her. She is lovely! And she does not hold back in the kitchen, so I thought that now it was my turn to take care of her fingers. They occasionally get a little burned and damaged, so I have made a set of crochet potholders with bobbles, that are 100% thick enough to not get burned fingers.
She was so happy! And to quote: “I love them! You never burn your fingers!”
(Scroll down for the free version on the page here)
Time to produce: 6-7 hours
Skill level: Medium
Format: 16 x 20 cm

For this crochet pattern on potholders with bobbles, you need to be able to make bobble stitches and single crochet, so it is quite easy to understand.


The backside
Use 1 ball of cotton 8/8 (alternatively 2 balls of cotton yarn 8/4 at the same time).
You start with the backside, as you put them together when the front is done.
Start: Use needle 4 mm and chain (ch) 34. Start in the 2nd stitch from the hook.
ROW 1-28 33 single crochet (sc), 1 ch, turn
Tighten the ch and cut the yarn. Weave in the end.

The frontside
Use 1 ball of cotton 8/8 (alternatively 2 balls of cotton yarn 8/4 at the same time).
The front end ends up being 15 bobbles long and 12 bobbles high. You both start and end with a bobble mask row.
Start: Use needle 4.5 mm and chain (ch) 32. Start in the 2nd stitch from the hook.
ROW 1 Use needle 4 mm: 1 single crochet (sc), 15 bobble stitches, 1 ch, turn
ROW 2 31 sc, 1 ch, turn
ROW 3-22 Repeat rows 1 and 2
ROW 23 1 sc, 15 bobble stitches, 1 ch
Don’t cut the yarn as you will need it for assembly.
Støt Milla Billa
Hvis du finder glæde ved mine opskrifter og og kan bruge mit indhold, kan du støtte op om Milla Billa lige her – så kan jeg blive ved med at lave skønt indhold til dig. Læs mere om, hvorfor de gratis opskrifter er så vigtige for mig, ved at klikke herunder.
På forhånd mange tusinde tak 🙏❤️🤗


Sew on the “Handmade”-tag
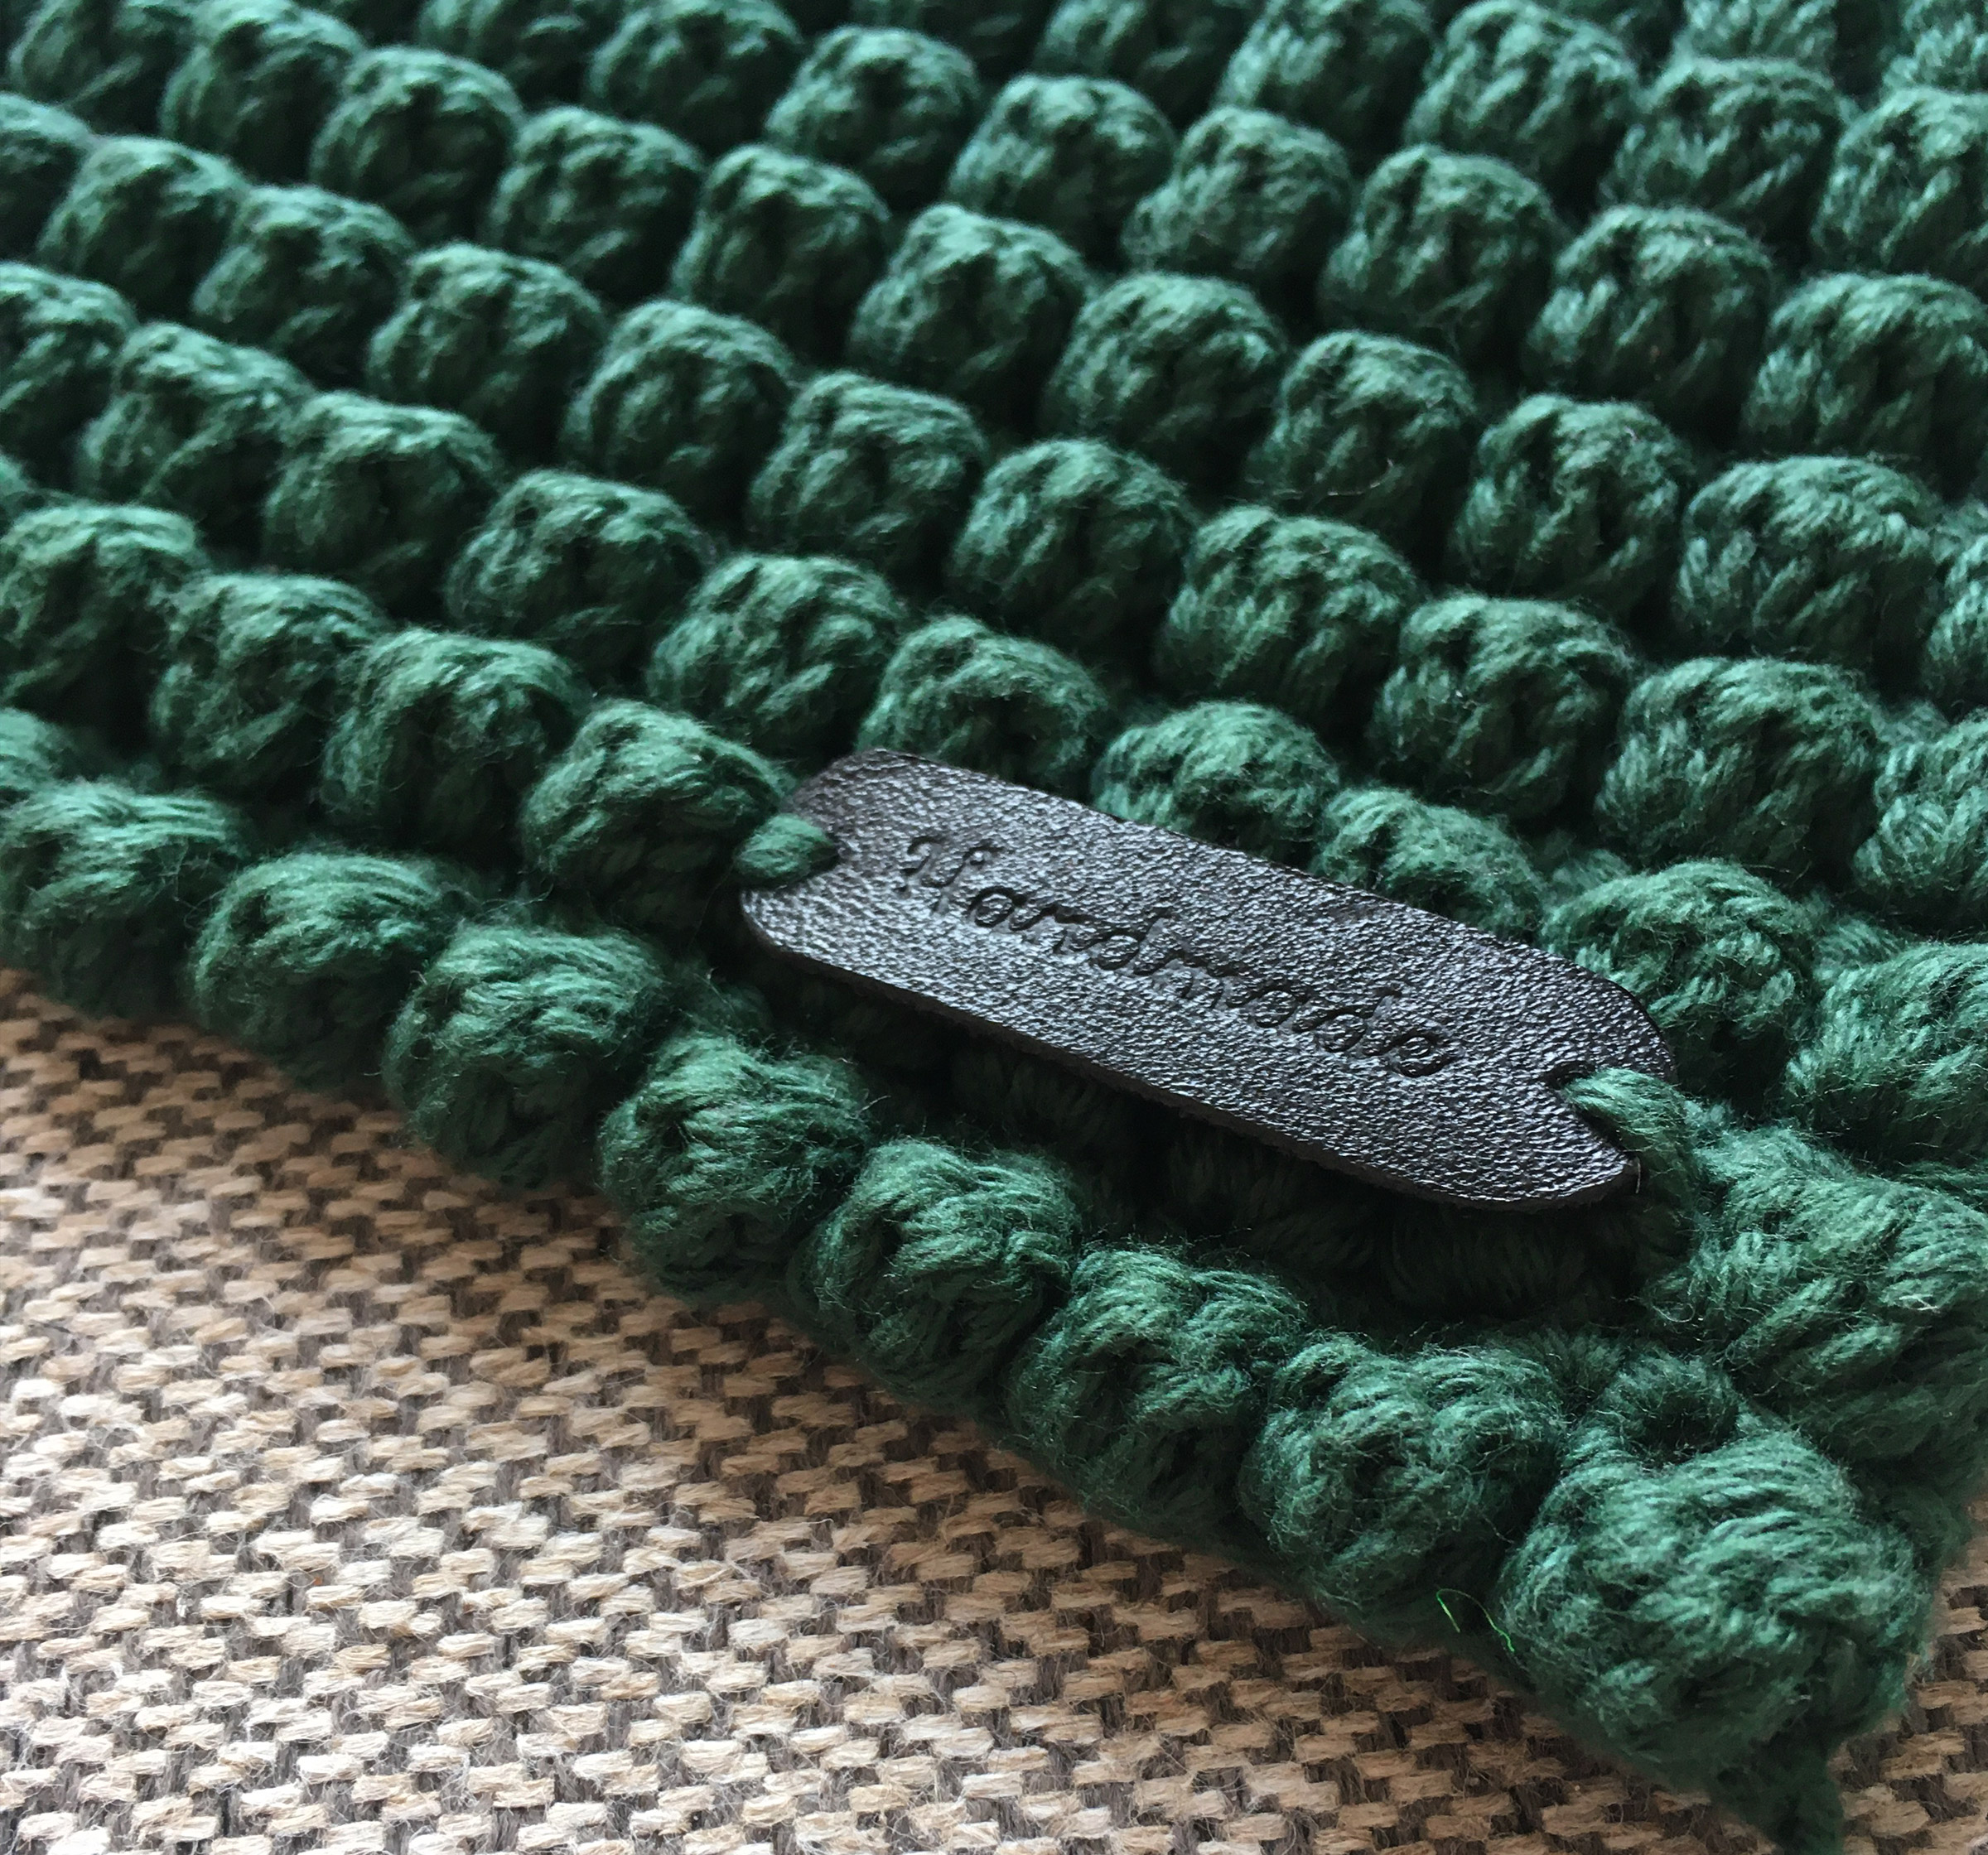

If you choose to sew the tag on the front crocheted piece with bobbles, I recommend that you do so before crocheting the pieces together.
I have placed the mark on the right side with a bubble mask margin both to the right and down. It is sewn in from the back with a few stitches. It gives the potholder a more finished and professional look, and leather is a really nice material contrast to the yarn.
Crochet the pieces together
Start
Hold the pieces of Stine Potholder together so you have the frontside with the bobble stitches up. Insert the crochet hook through both pieces and crochet the pieces together with single crochet all the way around.
The corner
When you get to the corner crochet 2 sc together in the last stitch, turn around the corner, crochet 2 sc again on the other side of the corner (4 sc together in the corner). It gives the nicest edge.


Insert the strap

The strap can be a bit of a a trouble, so here a pair of pliers is a pretty good helping tool.
Take a larger crochet hook. Insert it through the corner where you want the strap inserted to widen the hole and let it sit there for a bit.
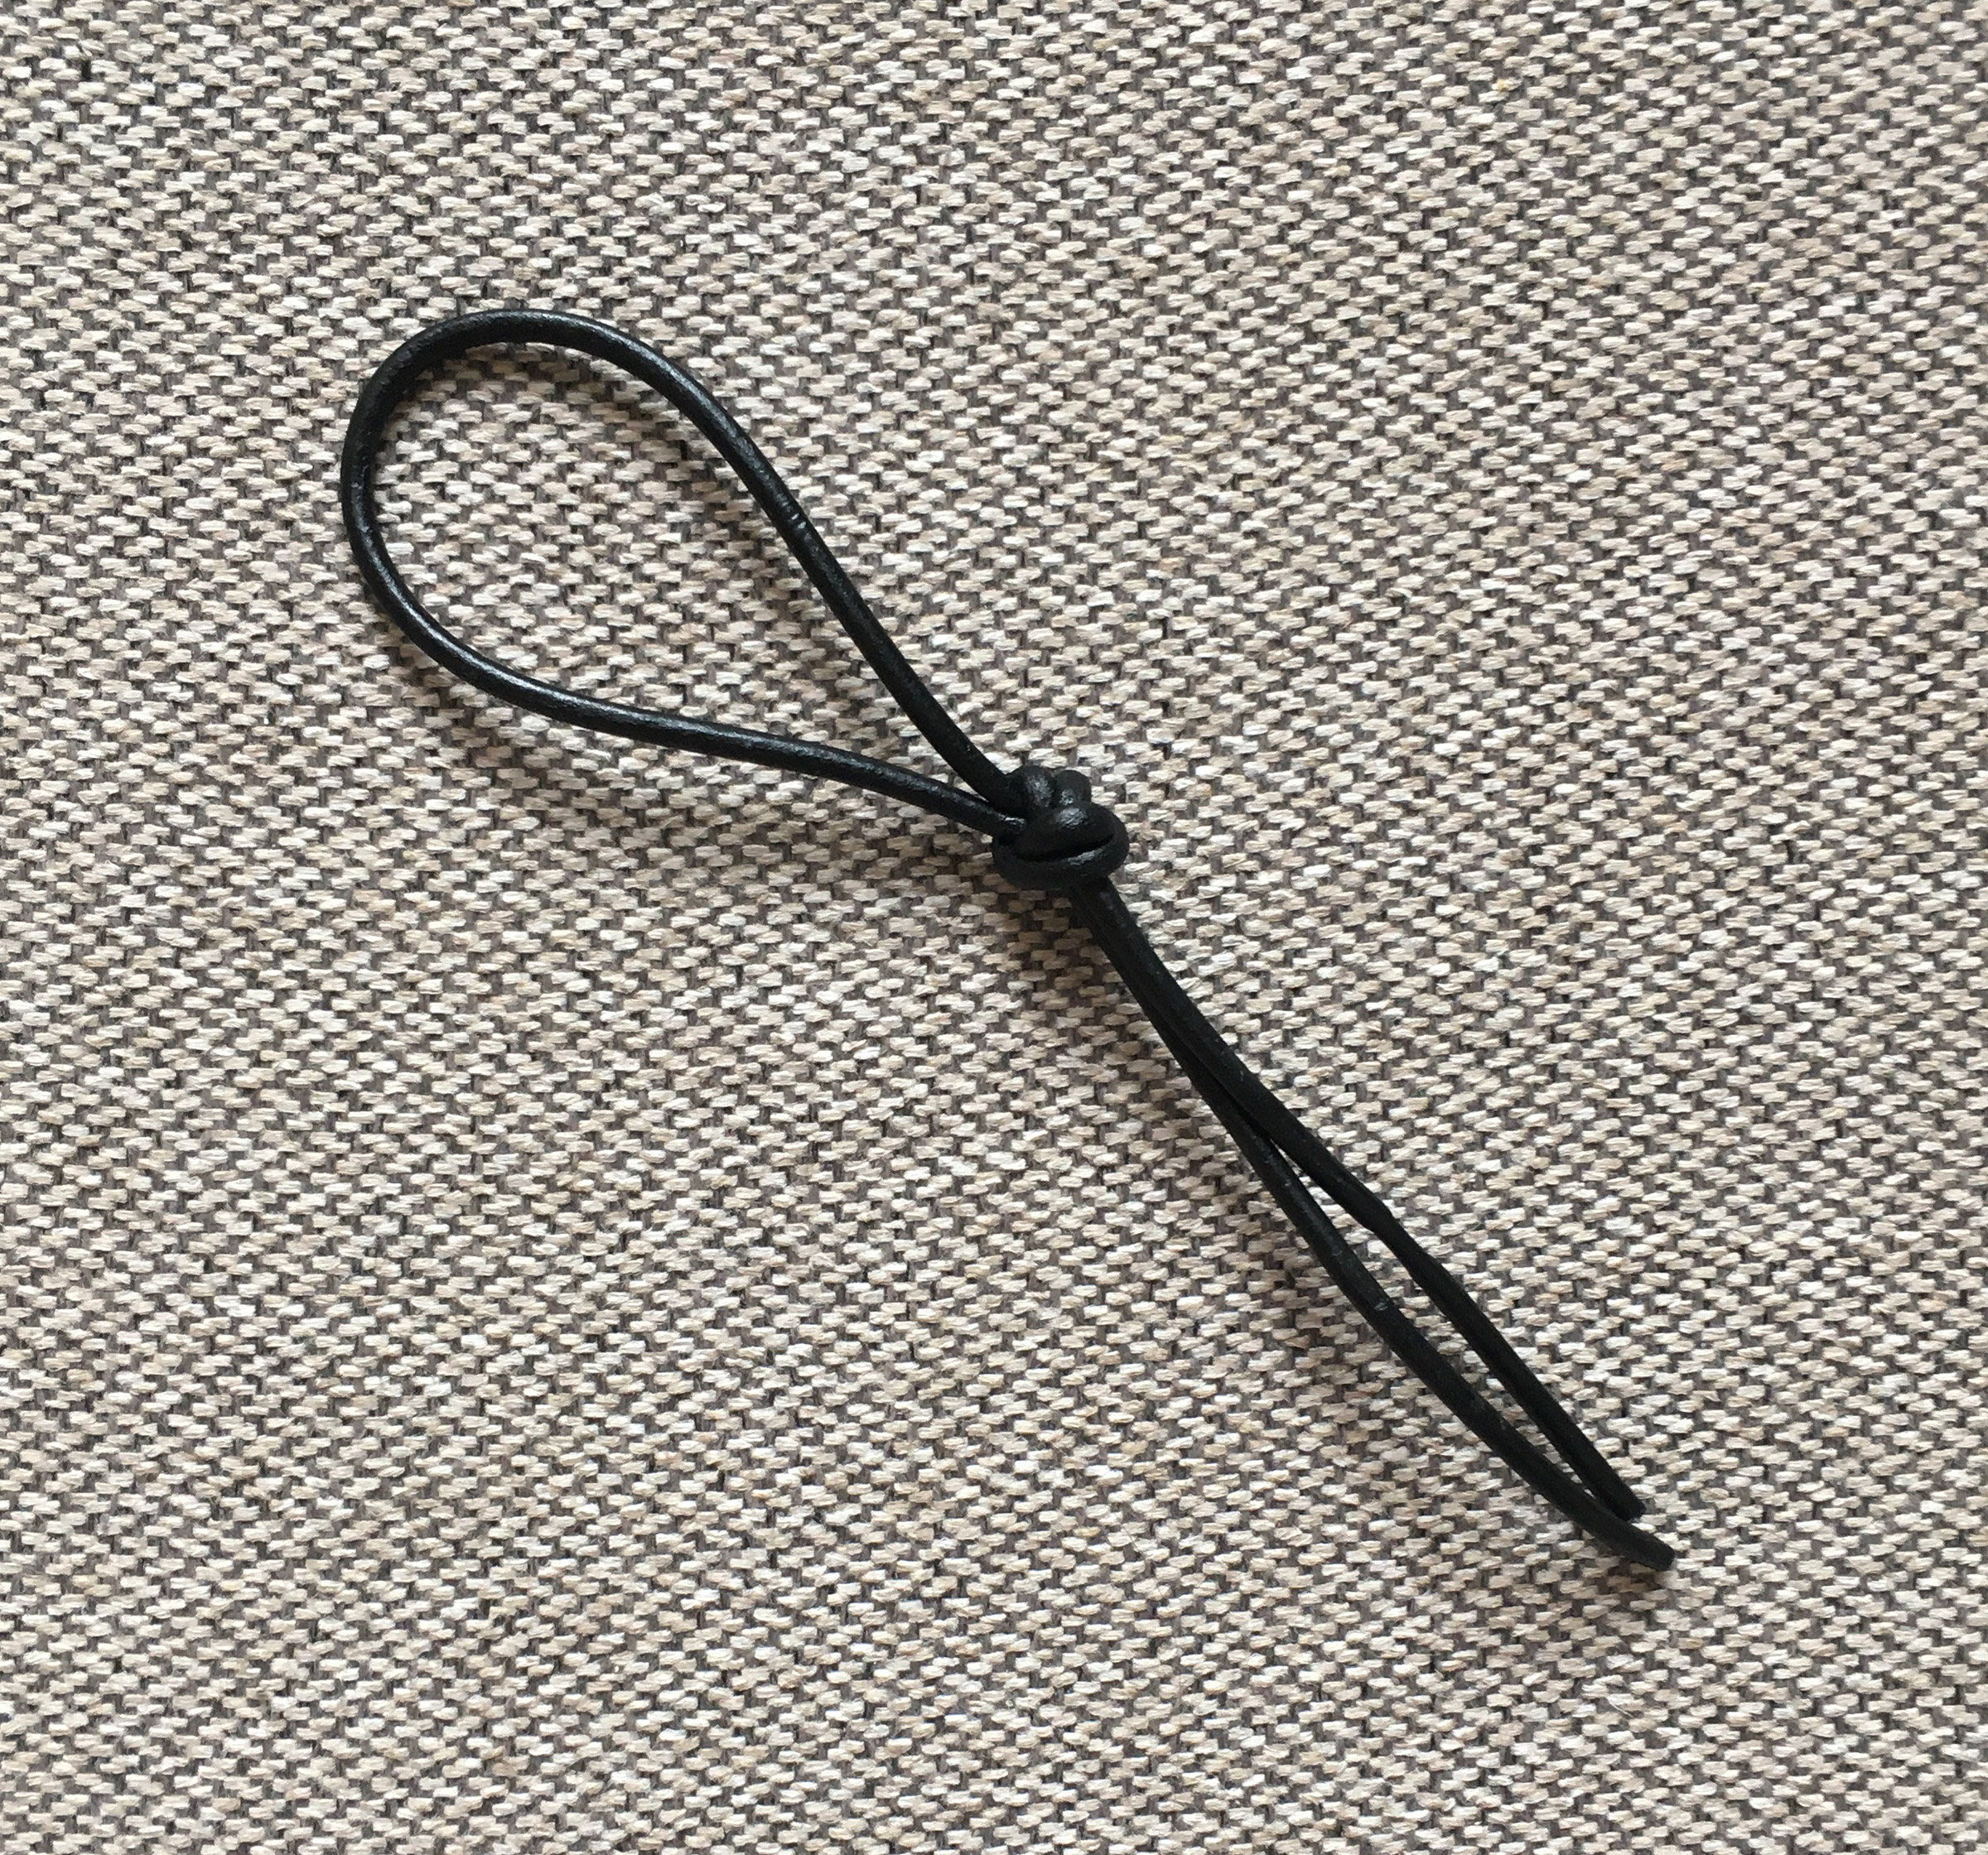
Cut off the length you want. I cut 42-45 cm, so I have enough for knots and do not waste too much. Tie a knot, so that the strap is 7-8 cm in height.

Put the ends through the hole. You could use your pliers to get it pulled through.
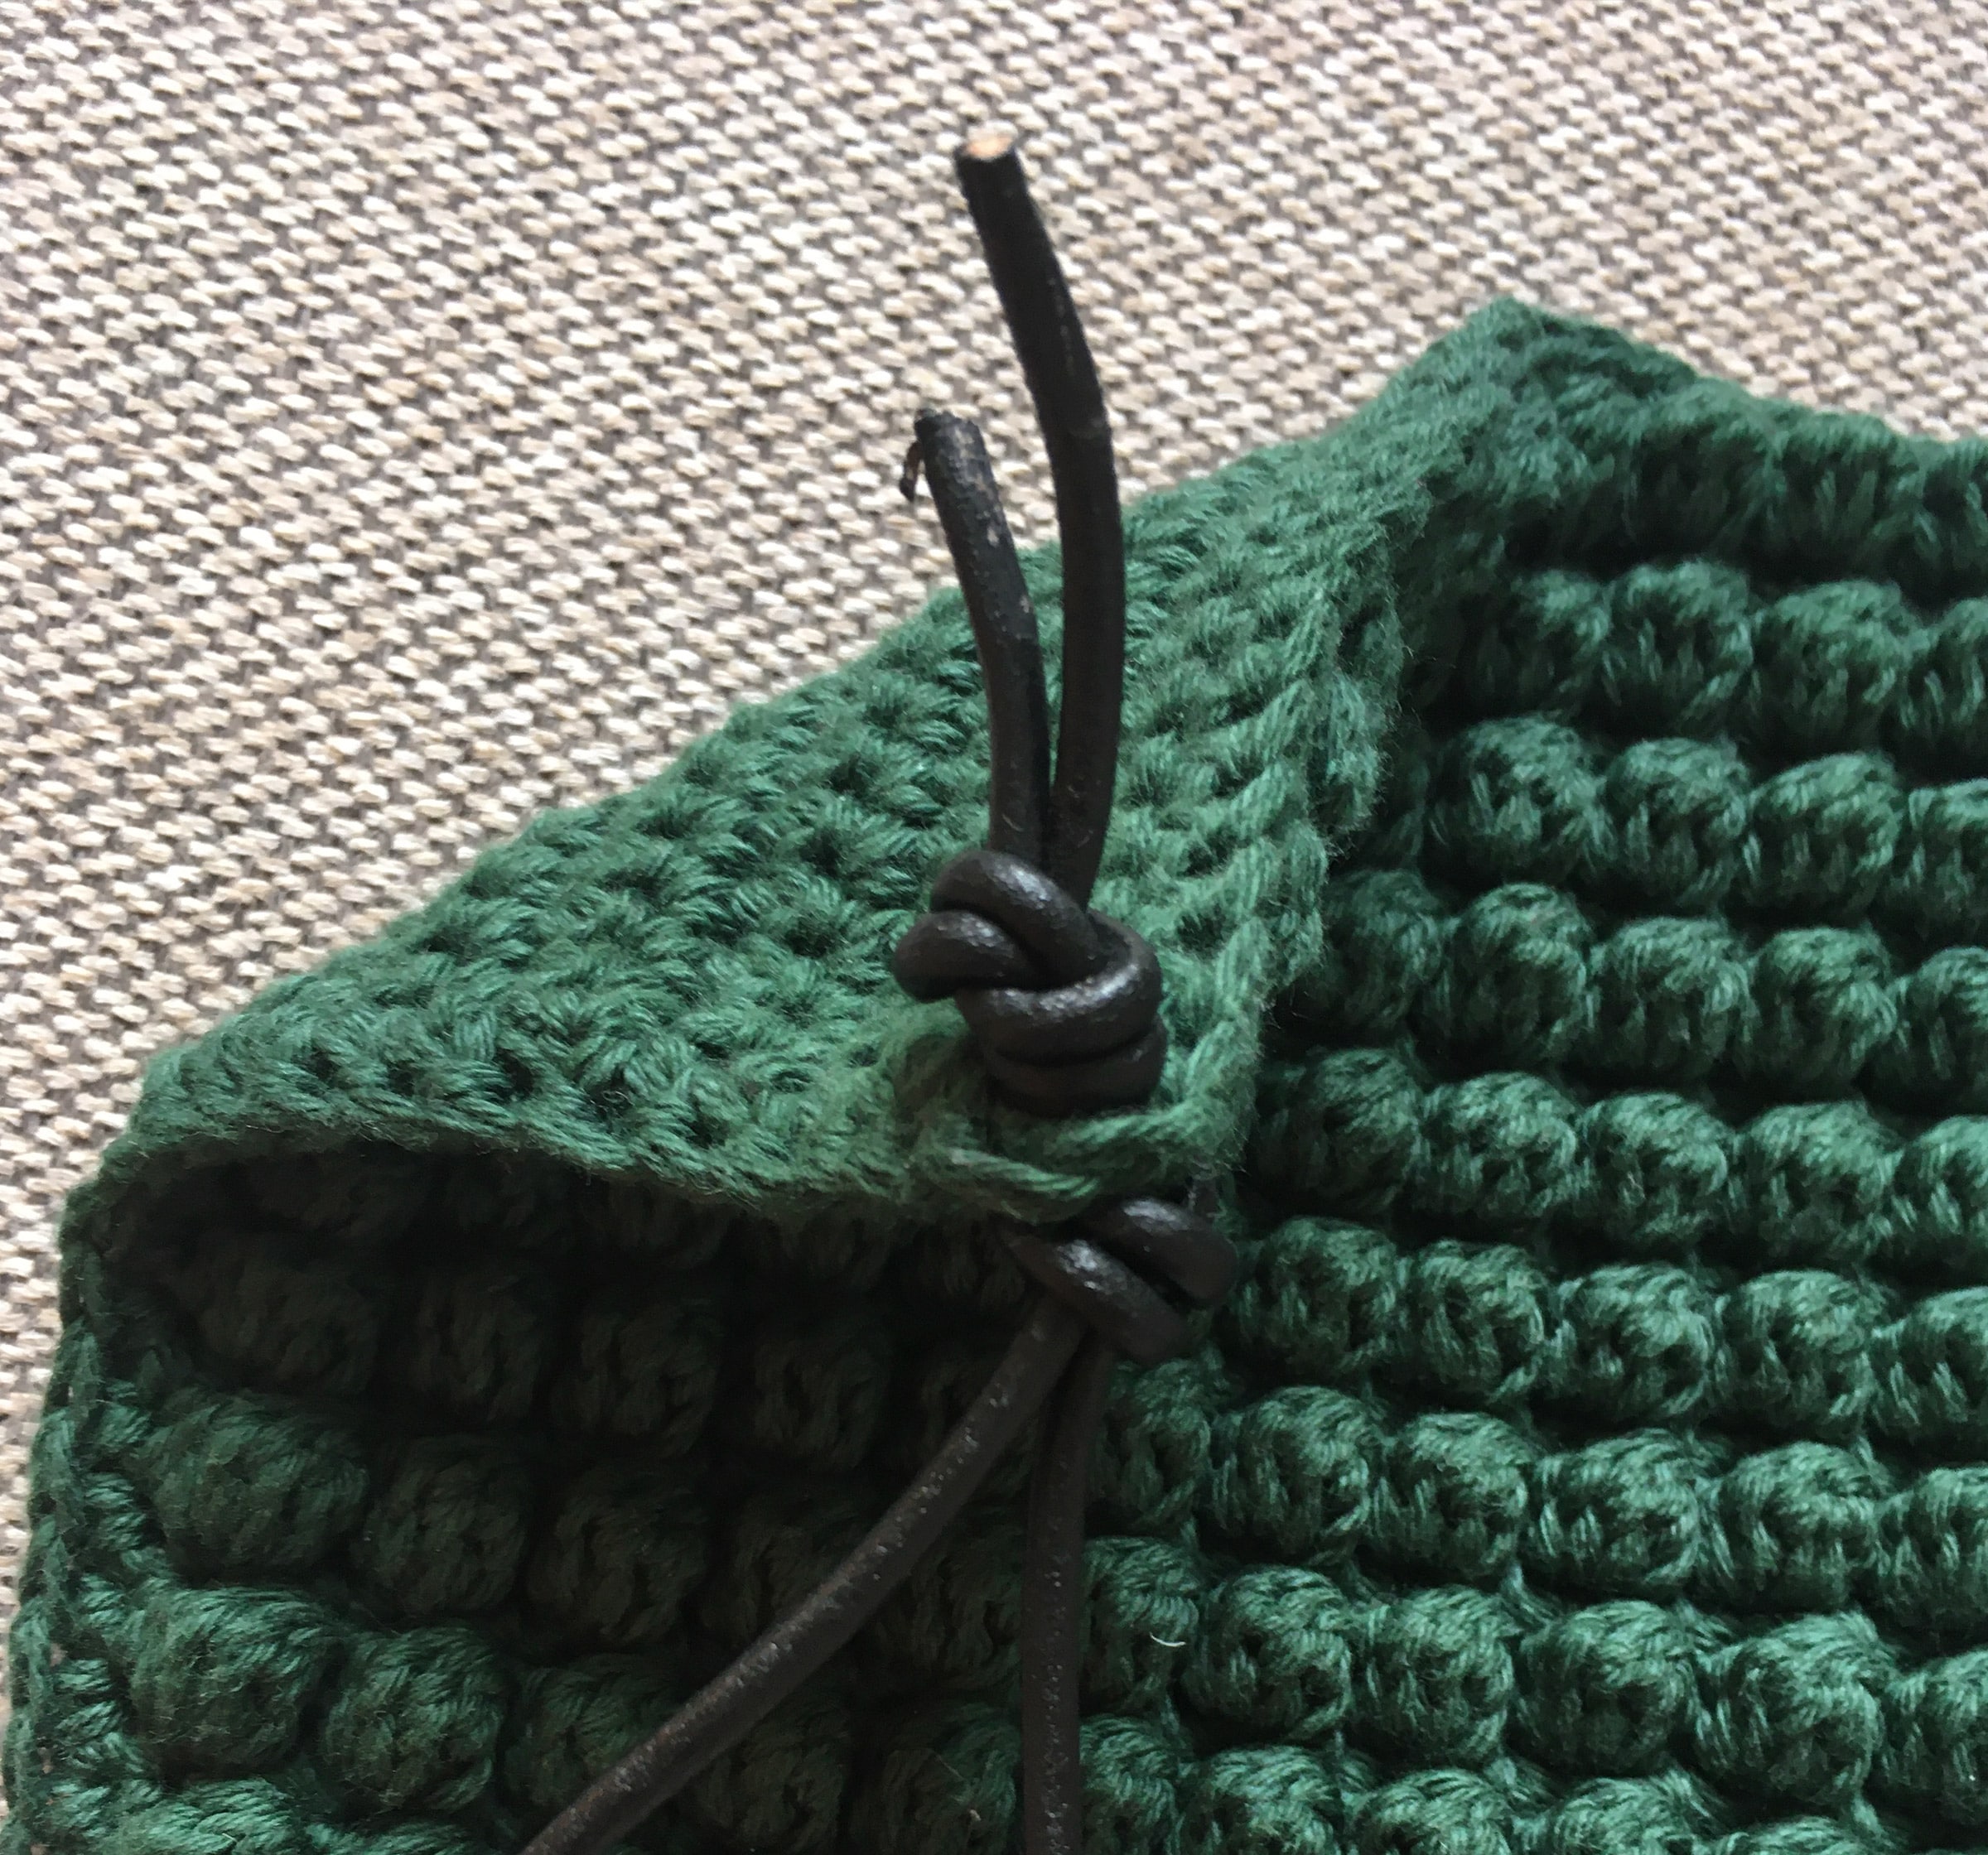
Tie a knot on the back and tighten well. Use your pliers, so that it is tightened well.
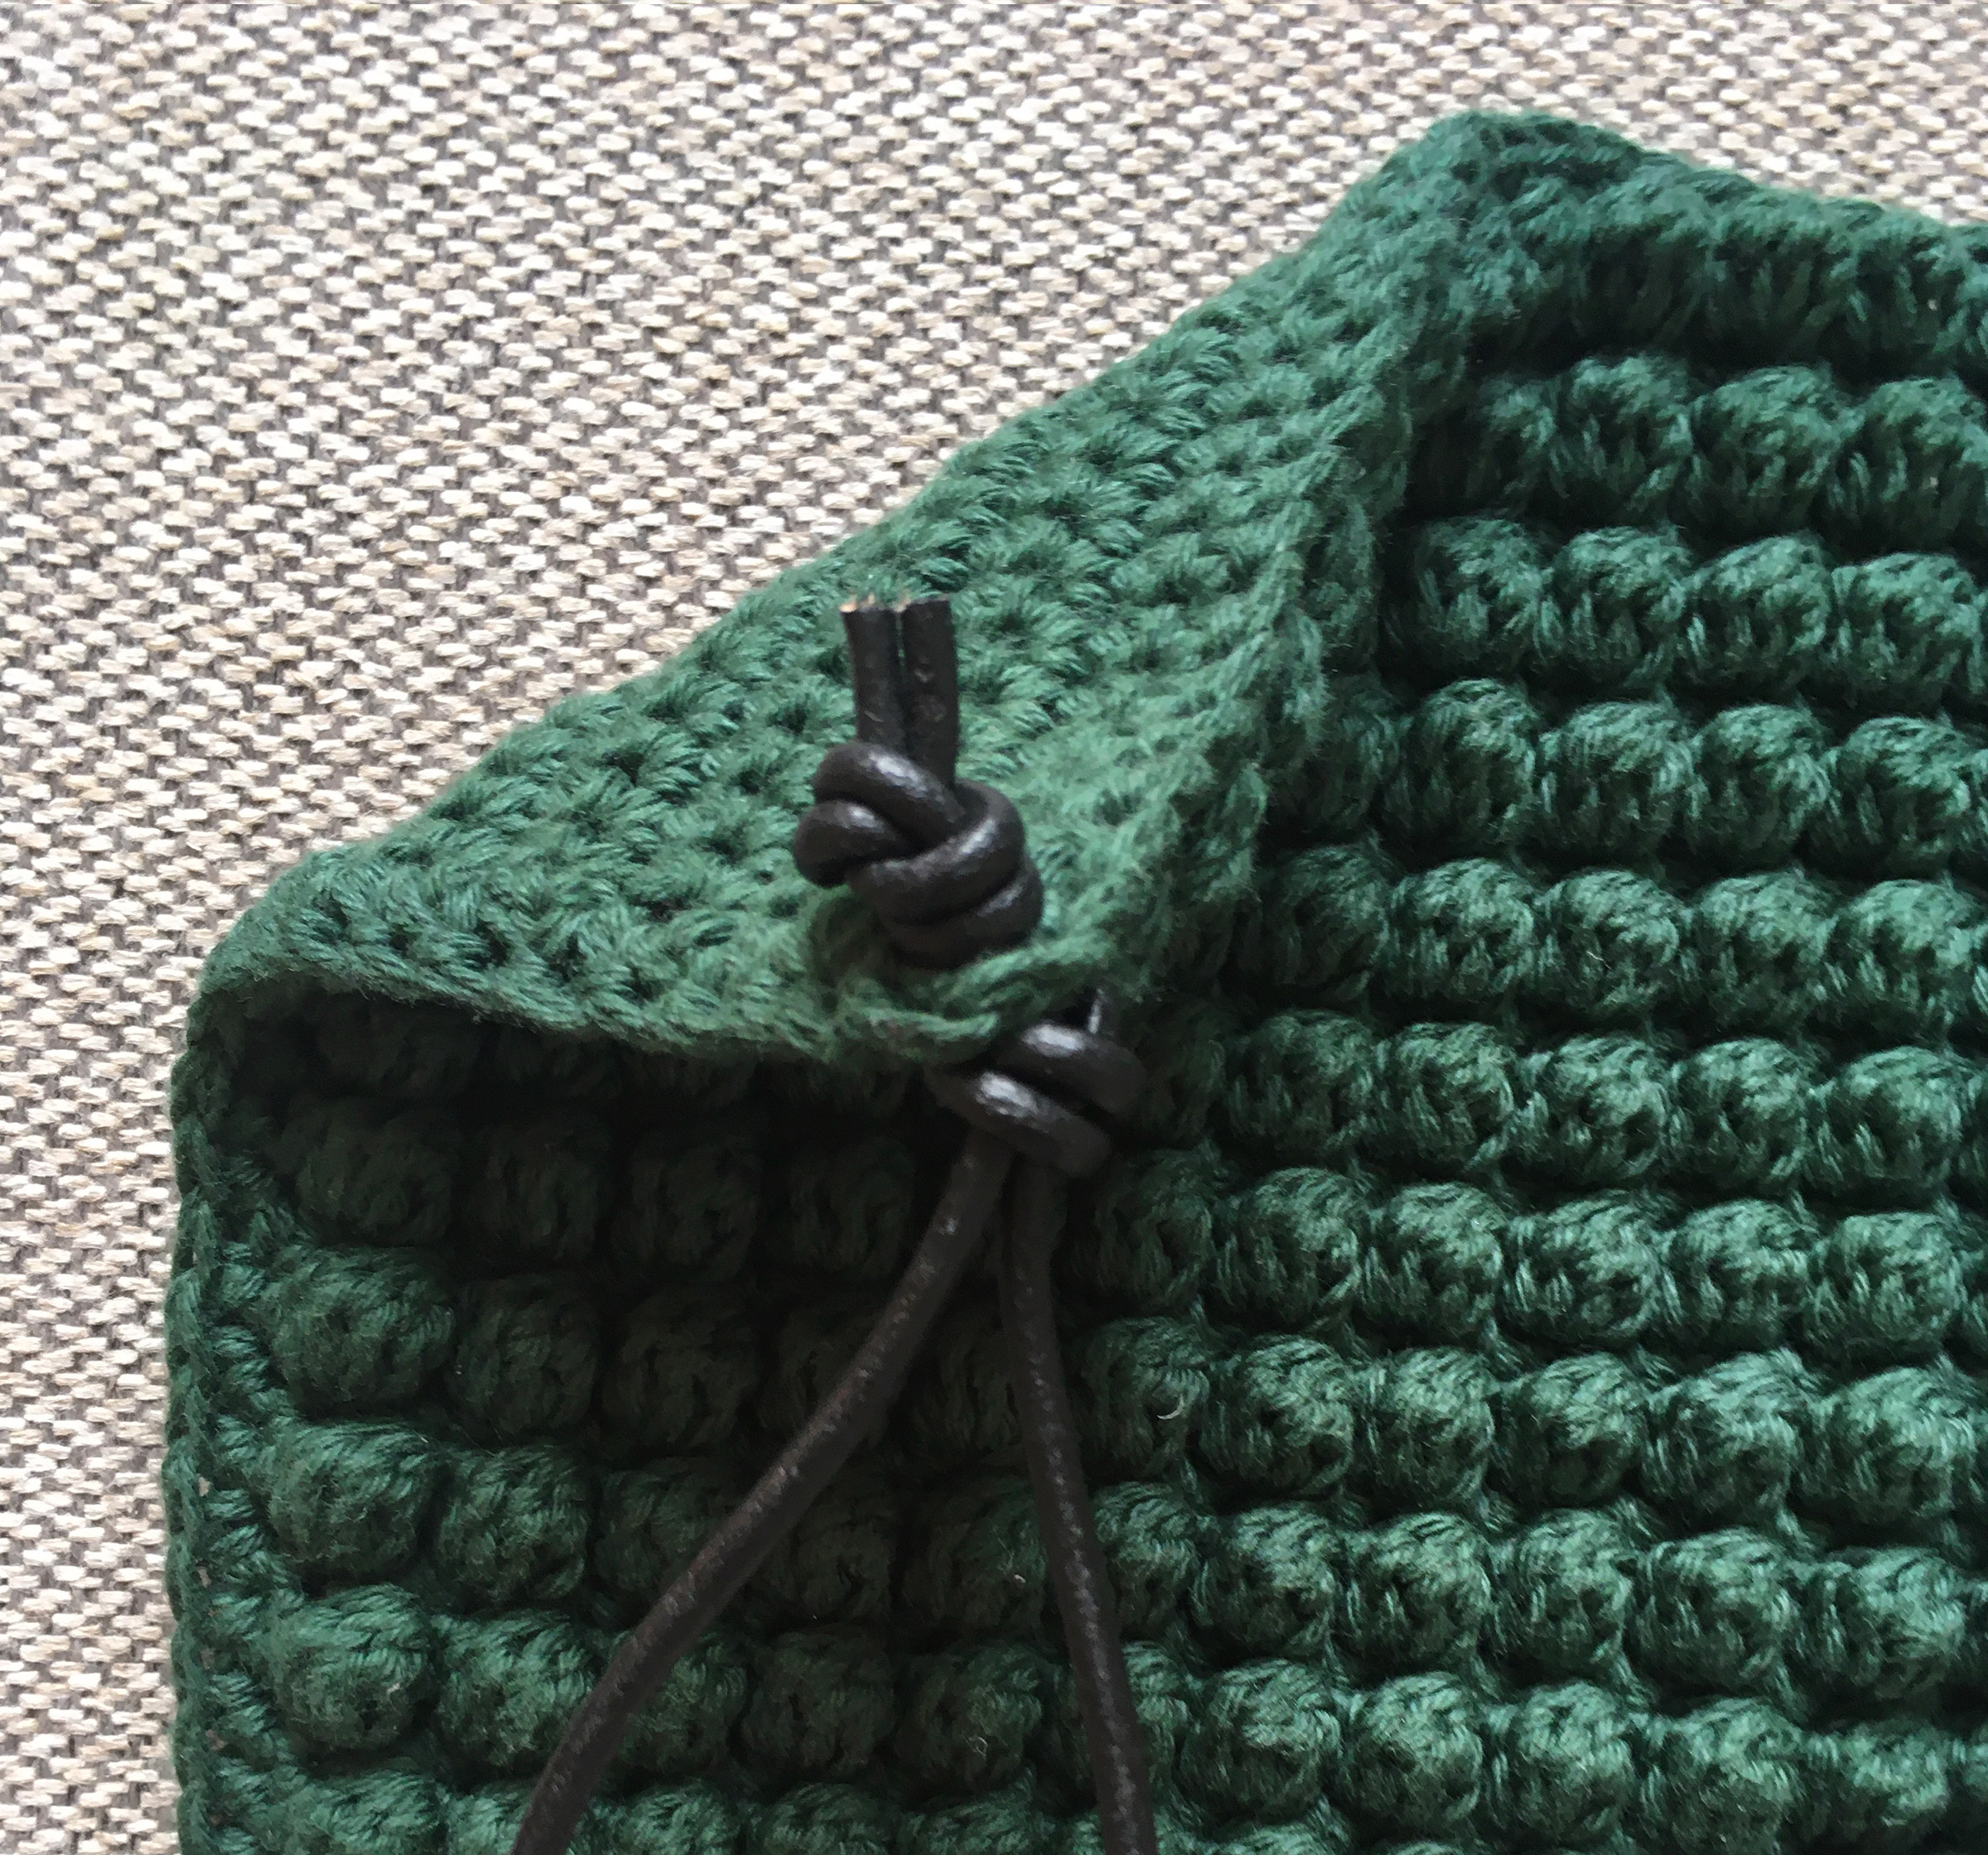
Cut off the tips and babaaaaaaa: You set of Stine Potholder with bobbles is done and ready to use 🙂
I have made some helpful videos, that should make it easier for you to understand the pattern. It’s just usually easier in live pictures 🙂 All videos are made and edited by Milla Billa. Music by www.bensound.com.