About Musses Cowl
Sometimes it’s just the simplest that is the most beautiful. I wanted to crochet something for my boyfriend (aka. Musse), but had a hard time figuring out what. He often wears cowls instead of scarves, so therefore I would make a lovely and delicious one. That’s how this oattern on Musse’s Cowl came along.
It’s crocheted in double thread and in rib, so it is nice and warm and fluffy. Baby Merino is one of the only wool yarns I have found, that is both scratch-free and warm. He just got so happy and it has now become his favorite 😍 Maybe because I made it 😉 It also gets a lot of roses on it’s way ❤️
Crochet Time: 2.5 hours
Skill level: Easy
Size: 23 W x 26 H cm


For the crochet pattern here on Musse’s Cowl, you must be able to crochet chains, half double crochet, crochet in the back loops and slip stitches. It’s pretty simple. There is a certain turning technique which means, that you get the most beautiful raw edges. That video is here (though shown with 2 of the pretty turning stitches – here you only need 1): Completely straight edges without turning chains.
To watch the videos you can click on the links here, or scroll all the way down to the bottom. The video’s are in Danish, but with English subtitles, so don’t forget to turn those on).
What you need

It’s just so neat with a little leather label on. These I have designed myself, so they fit perfectly on this Musse’s Cowl here 😍
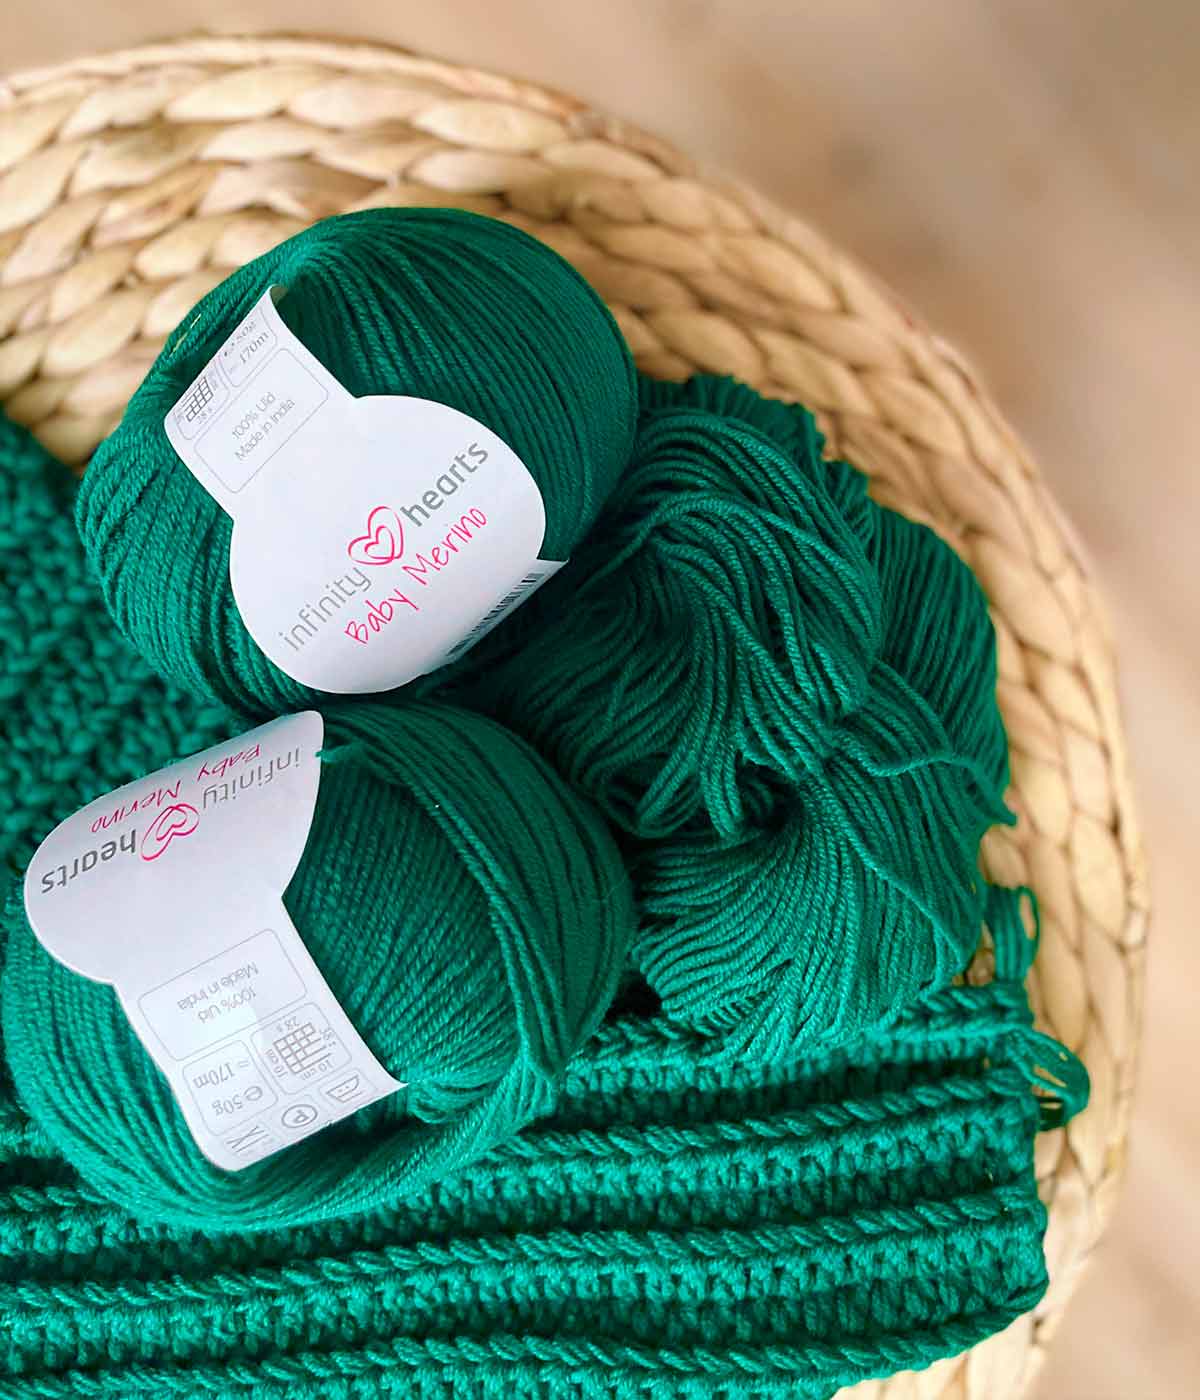
A fantastic Baby Merino is this one from Infinity Hearts. It is also super soft and warm, and it comes in a few more colors – including this bottle green (No. 28) that I just absolutely love! 👏
What is so great about wool yarn, is that it is so warm. Your skin can breath in it, because it’s a natural material, but … It can very often be scratchy! I am very sensitive to scratchy yarns, and I go NUTS, if I wear something that’s itchy. The quality that’s called Baby Merino yarn is the only wool yarn I have found, that doesn’t make me go nuts 😉
Click here to see the bottle green
Click here to see the full range of colors
You need 3 balls.
Tools
Materials
Støt Milla Billa
Hvis du finder glæde ved mine opskrifter og og kan bruge mit indhold, kan du støtte op om Milla Billa lige her – så kan jeg blive ved med at lave skønt indhold til dig. Læs mere om, hvorfor de gratis opskrifter er så vigtige for mig, ved at klikke herunder.
På forhånd mange tusinde tak 🙏❤️🤗


Before you get started
There are a few things, that are good to learn before you get started (besides of course the basic stitches if you are not on foot with them 😅). It is for example the “Pretty Turning (pt)”, which give you the most beautiful edge. Absolutely straight and delicious.
There is a video here, which is shown with 2 pcs. – here you just need 1 (as in the pictures below).

Step 1
When you have reached the end of the row, turn without making turning chains.
(At the starting chain at the very beginning, you use 1 turning chain – otherwise it is impossible to get the first single crochet made.)

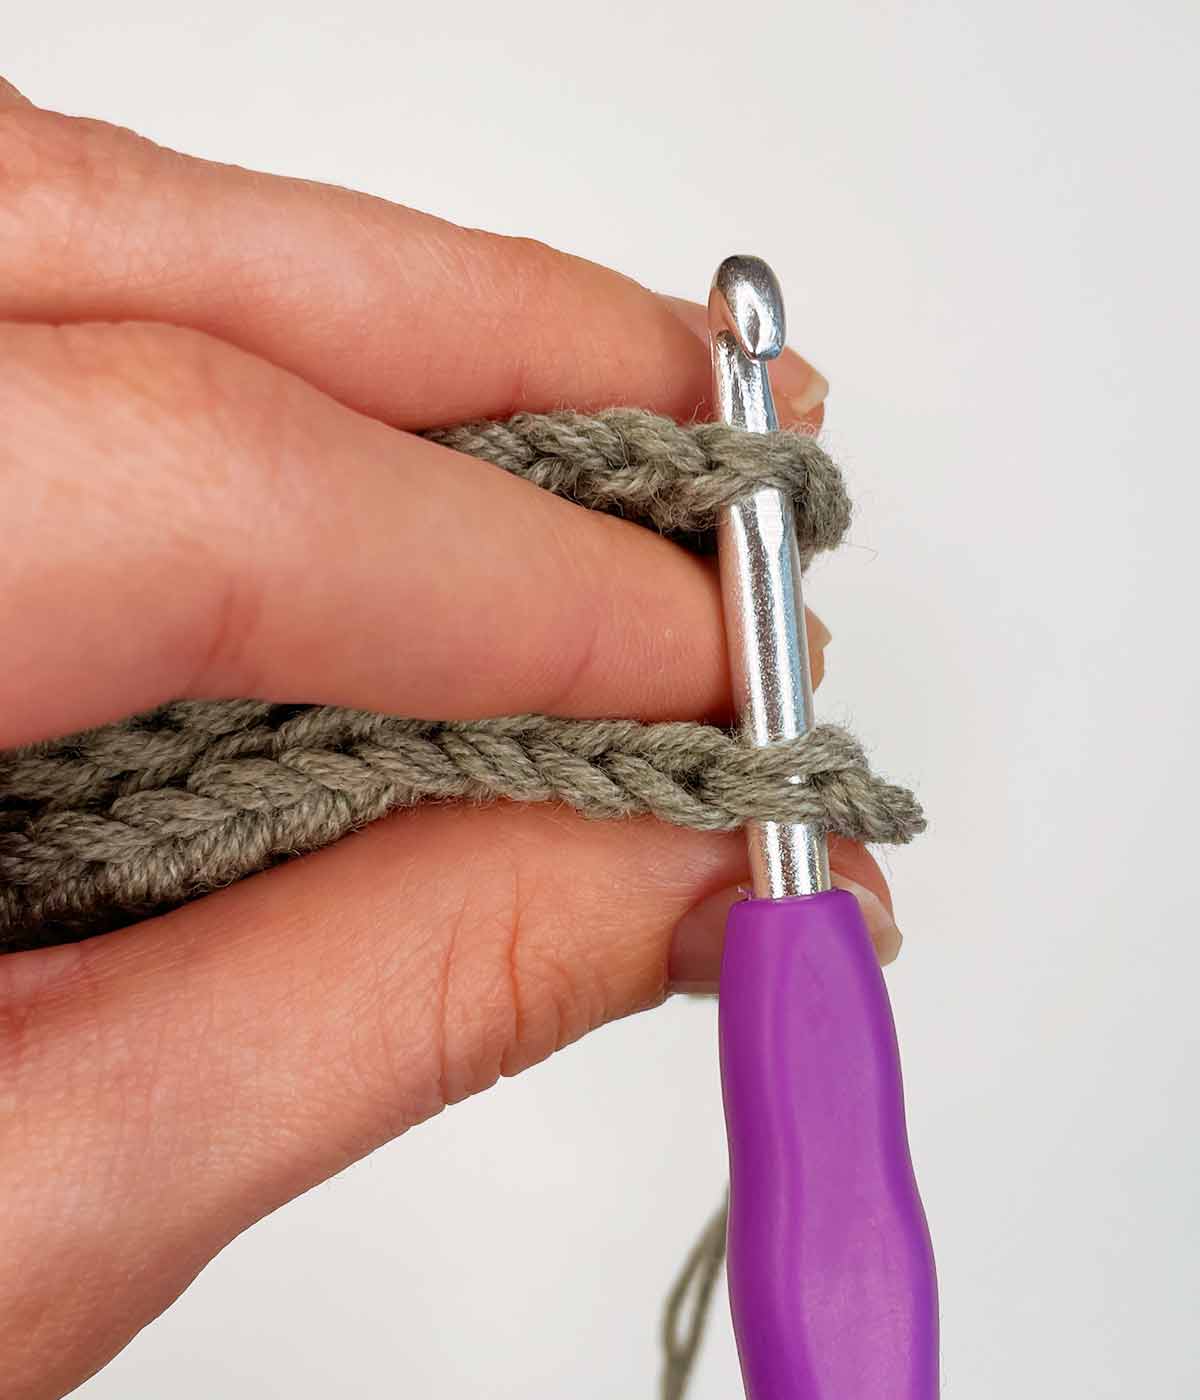
Step 2
Pull the loop slightly loose at the side and make a single crochet in the first stitch. It counts for the first stitch in the row and you crochet in it again once you have turned.
All stitches in the back loop … Almost!
When crocheting in the back loops here on Musse’s Cowl, holes often appear in the edge. You can avoid them by making the very first and last stitch in the row in both loops.
When crocheting in the chain, of course, it’s just as usual.
The Pattern for Musse’s Cowl
When you make Musse’s Cowl, you crochet with 2 threads of Baby Merino at the same time.
START 45 chains + 1 turning chain (a chain), turn
ROW 1 Start in the 2. stitch from the hook: 1 pretty turning, 44 half double crochet, turn
ROW 2-52 Start in the 1. stitch from the hook: 1 pretty turning in both loops, 43 half double crochet in the back loop, 1 half double crochet in both loops, turn
Now that it is designed on the long end, you can adjust it just according to the head size and how tight you like to have it. For Rasmus it fit perfectly with 52 rows. However, finish with an even number of rows – then it will be most invisible when crocheting the two ends together.
Gather uuuup!

The neck cowl is assembled with slip stitches. You need to lay your piece up as shown here, so that you have your work row at the bottom (the one your hook is stuck to) and the starting chain row at the top.
The starting chain stitch row can only be crocheted in one way – there are not 2 loops, where you can crochet in the front, back or both. There is only one place. So when I refer to the back or both loops, it’s in your work row.
Now crochet through both pieces:
The first stitch in the row: On your work row, insert the hook through both loops, then through the first stitch of the starting chain row and make a slip stitch.

The next 43 stitches: Here you insert the hook in the back loop on your work row, through the next stitch in the starting chain row, and make a slip stitch.
The last stitch: It’s like the first one where you go through both loops on the work row.
You finish with a chain, cut the yarn, weave in the end and turn it inside out. At the very end, the little leather label must be on, which just gives the finishing touches to your fine craftsmanship.
Just WOW 😍

Look at what you have made! Give yourself a good pat on the back and enjoy it for a moment. That is very well done 😍💪❤️
Here I have put together the whole KIT for you, so you can easily get started:
Here you find some helpful videos, so you can make the pattern. Especially if you are a beginner (If you are: You’re awesome – am cheering for you!). It is a bit easier to understand with live pictures  Milla Billa made the design and editing. Music was by www.bensound.com