About Favorite Christmas Ornament 2021
I have had this design in mind for some time. I love the oblique lines, that looks so fine when it turns around a bit, and now I finally cracked the code for the technique 😍
I’ve fallen in love with it, so the name became “Favorite Christmas Ornament 2021”. It also gives a bit of an expectation / hope that I can design a new one every year 😅🙈 The oblique and many color changes are quite nice – especially when it hangs and turns around a bit. It’s perfect to use on the Christmas tree, and can also be used on various decorations. If you have a candlestick that fits a small hanger, it will also be ideal ❤️
(Scroll down for the free version on the page here)
Crochet Time: 40 minutes
Skill level: Easy
Height: 5.5 cm D

For the crochet pattern here at Favorite Christmas Ornament 2021, must be able to make chains and single crochet + single crochet in the Back Loop Only (rib), so it’s not that complicated. You need to be able to make increases and decreases, and there are some different tips I have made a video on, so you can get it completely sharp. You can find that video here: Assembling of Favorite Christmas Ornament 2021. Click on the links here, or scroll all the way down to the bottom to see videos on the techniques.
You need …

The only glitter yarn I use, is this “Lurex” from Lammy Yarns. It fits in gauge with cotton 8/4, and is just so PRETTY and full of glitter! 😍
Tools
Materials

Before you get started
Before you get started with Favorite Christmas Ornament 2021, it’s very good to decide on your color changes. There are a whole lot of options, because you have a total number of 30 rows. As long as it just repeats the pattern/color changes all the way around. Here I have some different suggestions, but there are many more options than here:
The video here goes through the different techniques, and is a good support for the pattern. It’s a good idea to see it before you start, unless you are quite experienced 🤗

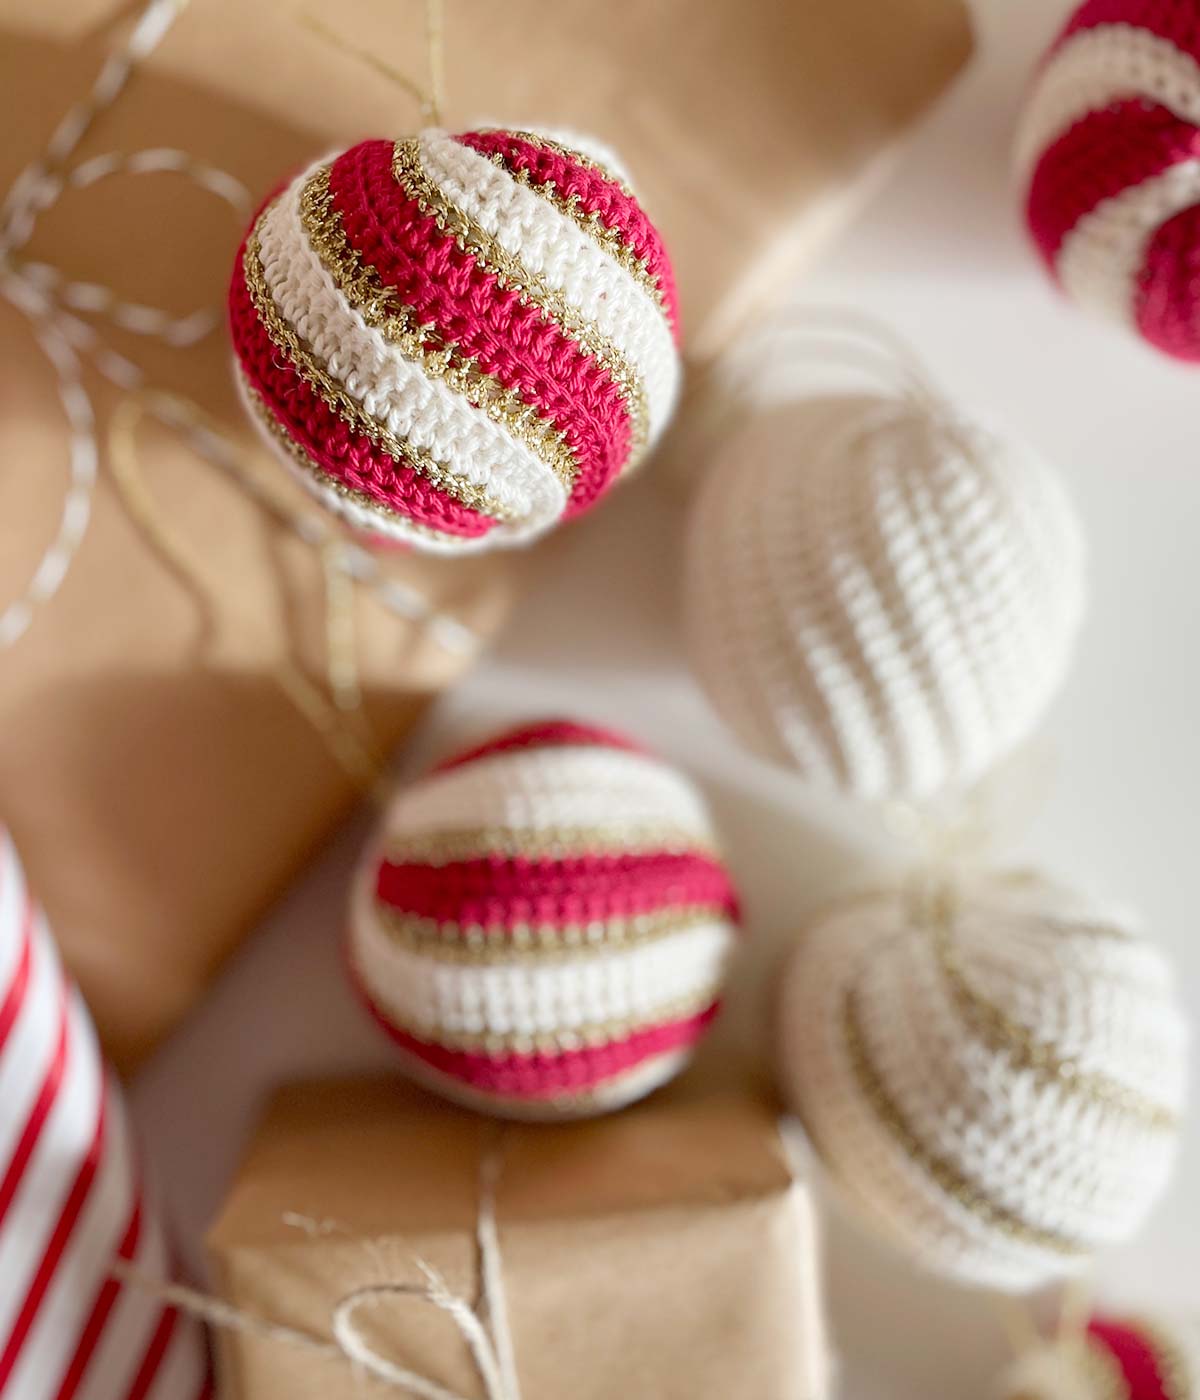
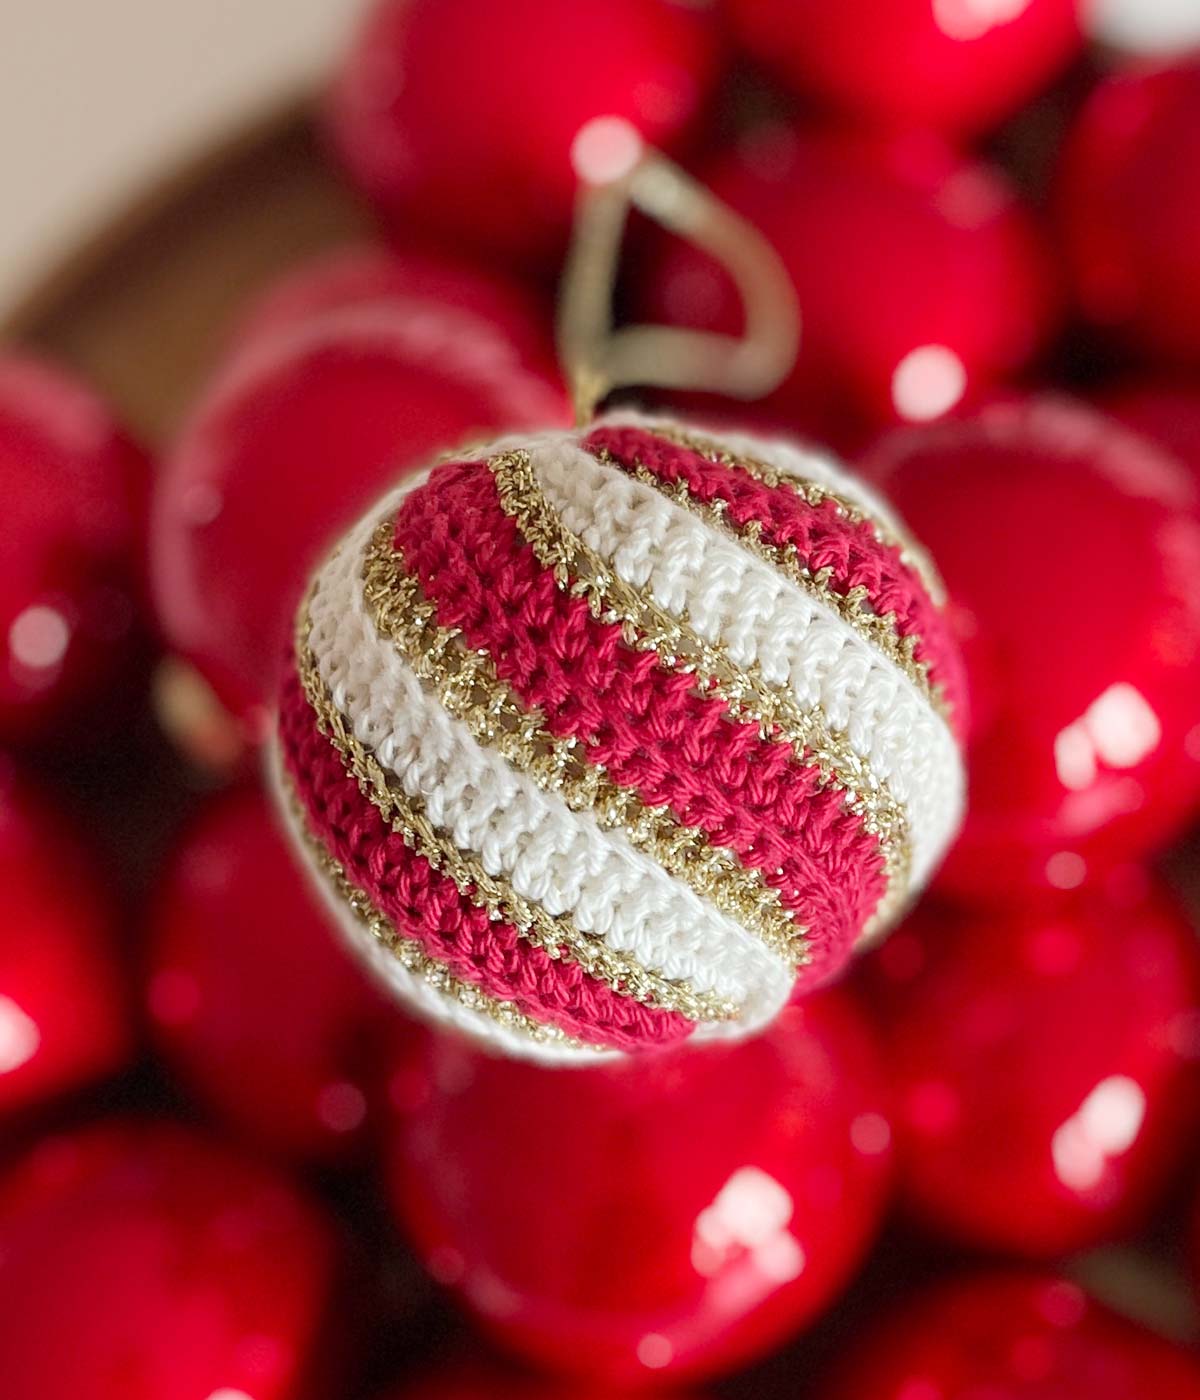
2 white, 1 gold, 2 red, 1 gold
If you want your color changes like the ornament here, make 2 white rows, 1 gold, 2 red rows, 1 gold, and continue until you reach 30 rows in total.
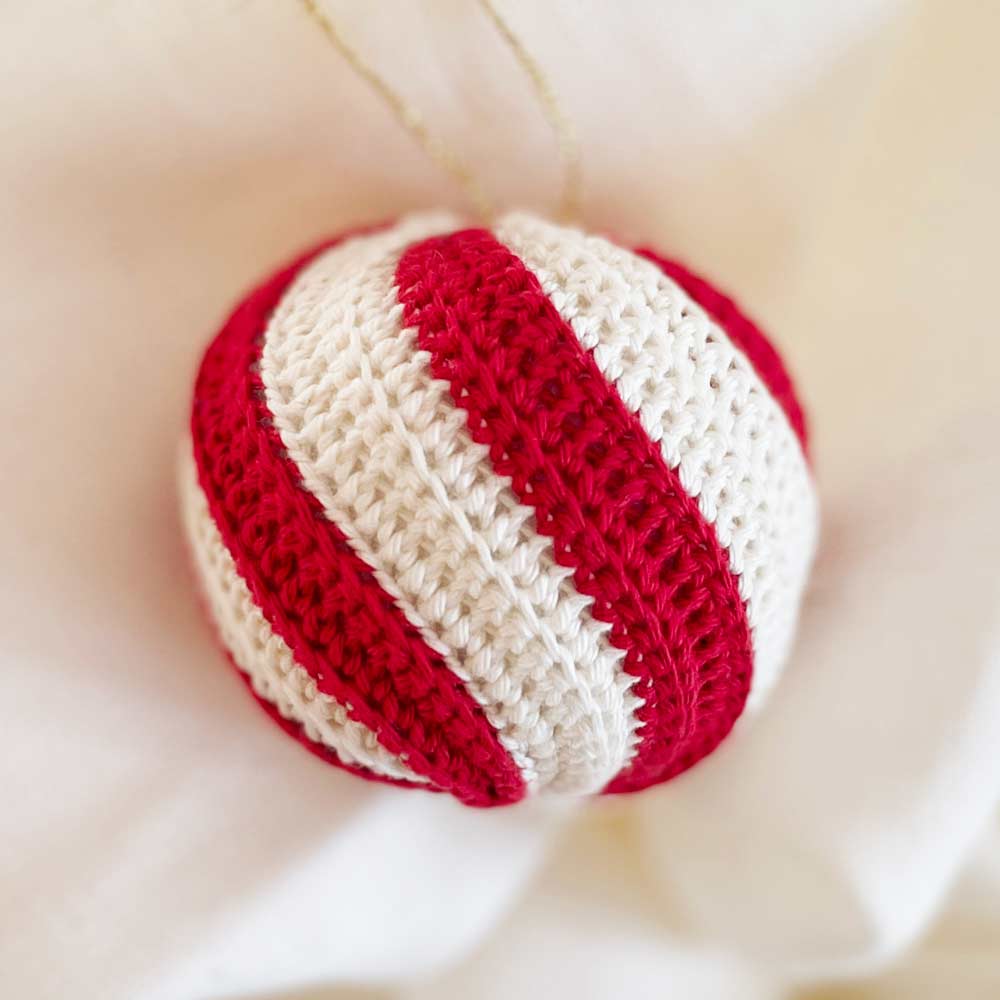
3 white, 3 red
The color changes here are 3 white, 3 red, until you reach 30 rows in total.

4 white, 1 gold
Here: 4 white, 1 gold, where you continue to 30 rows.

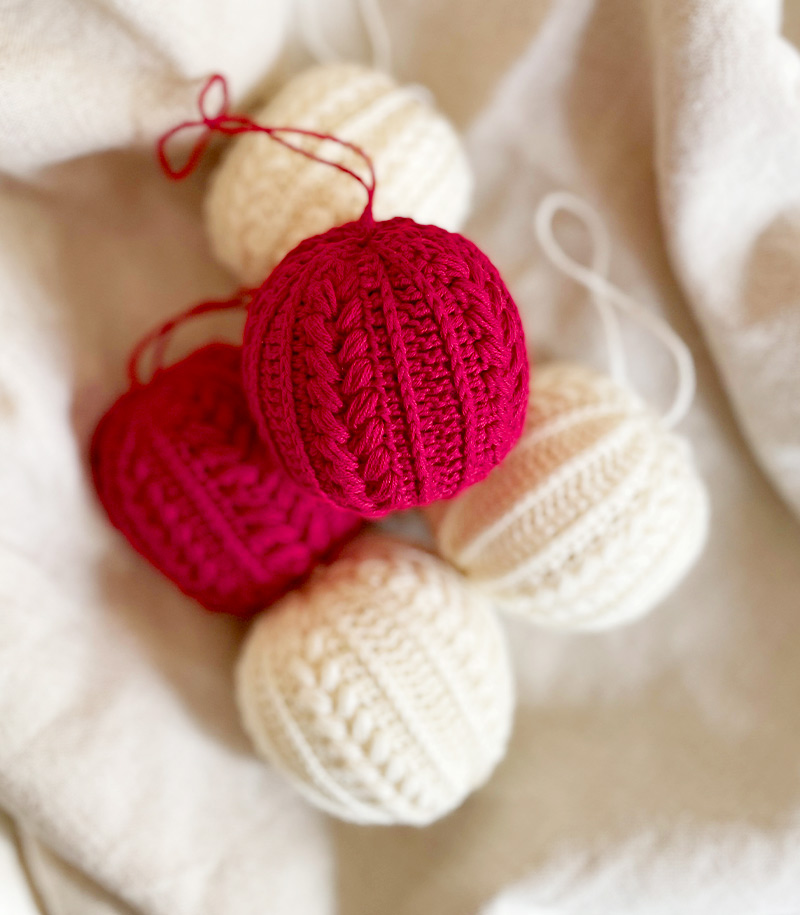
The classic: A solid color
It’s also super nice to keep it just in 1 color.
Turning Chain (tch)
You turn with a turning chain (tch). It’s a chain you use in the end of every row, to get up in height to the next row. You don’t crochet in it again, and it doesn’t count in the “stitch accounting”. Therefor you skip it and start in the loop after (2. loop from the hook), everytime you’ve made one.
Color change
When you make your color changes, you make them just before you make your turning chain (chain). When you have made the last stitch in the row, cut the yarn. Then you put the new color around the fingers, and crochet on, as if it were the “old” yarn you are crocheting on. You pull the new yarn through the loop and make a chain – that chain is your turning chain. Now it’s attached, you have made your turning chain, and you can crochet on.
Back Loops Only! … (almost)
When crocheting in the back loops, there are often holes in the edge/the ends. You can avoid them by making the very last stitch in the row in both loops.
Increase
At an increase: Insert the hook in the back loop in the stitch the first time, and in both loops in the same stitch the second time.
Decrease
At a decrease: Insert the hook in the back loop in the first stitch, and in both loops on the last stitch in the decrease.
In the starting chain, you just crochet as usual.
Pattern for the Favorite Christmas Ornament 2021
Start with a long end (30-40 cm) – it’s used later for sewing, when you have finished crocheting 🤗
REMEMBER: All stitches in the back loops except the last stitch in the row. In the chain,you just crochet as usual.
START Long start-end and chain 30 + 1 tch, turn
ROW 1 1 increase, 27 single crochet, 1 decrease, 1 tch, turn
ROW 2 1 decrease, 27 single crochet, 1 increase, 1 tch, turn
Repeat row 1-2 (meaning 1 + 2 + 1 + 2 + 1 + 2 etc.) until you reach 30 rows in total.
Finish with a chain, tighten it and cut the yarn. If your final color is glitter yarn, just cut to normal length as it’s not strong enough to sew with. If your final color is one in cotton, leave 30-40 cm to sew together.
Gather uuuup!
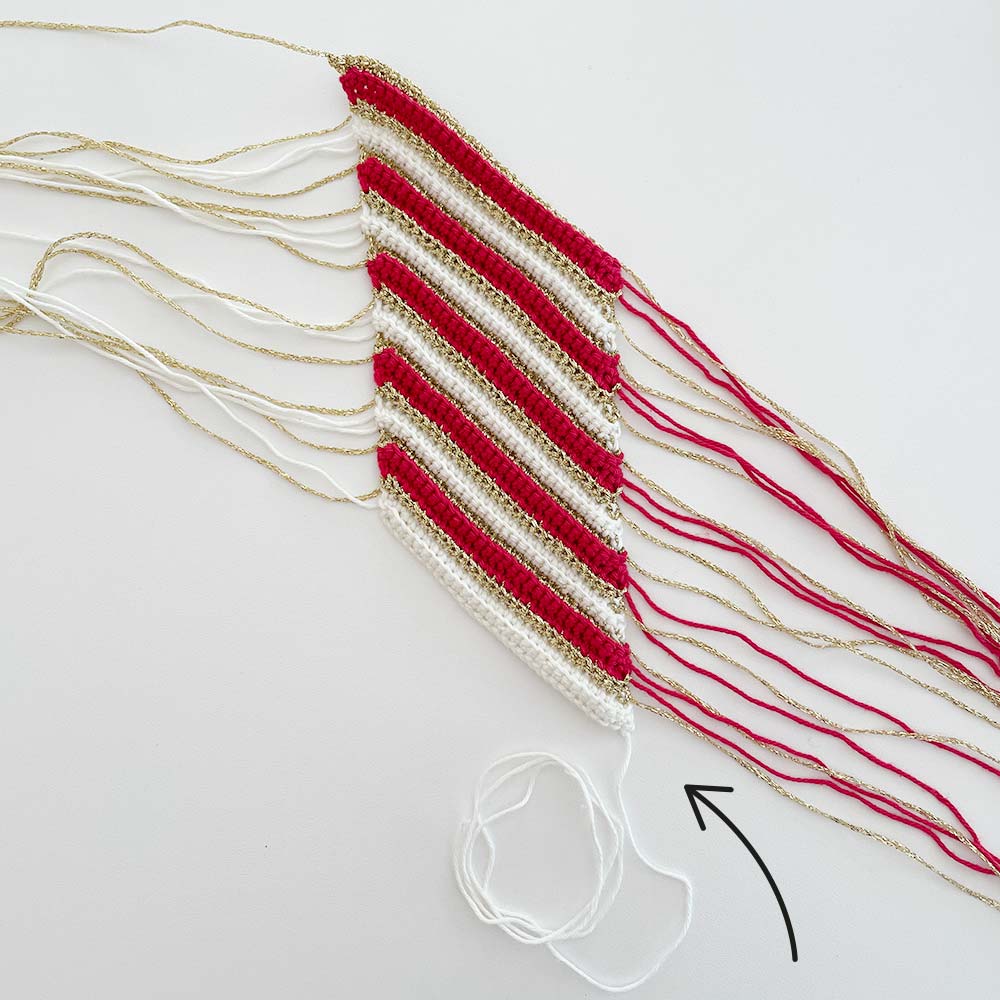
Lay your piece in front of you, so you have your long starting end to the right.
Tie all the ends together 2 and 2, so they don’t slip.
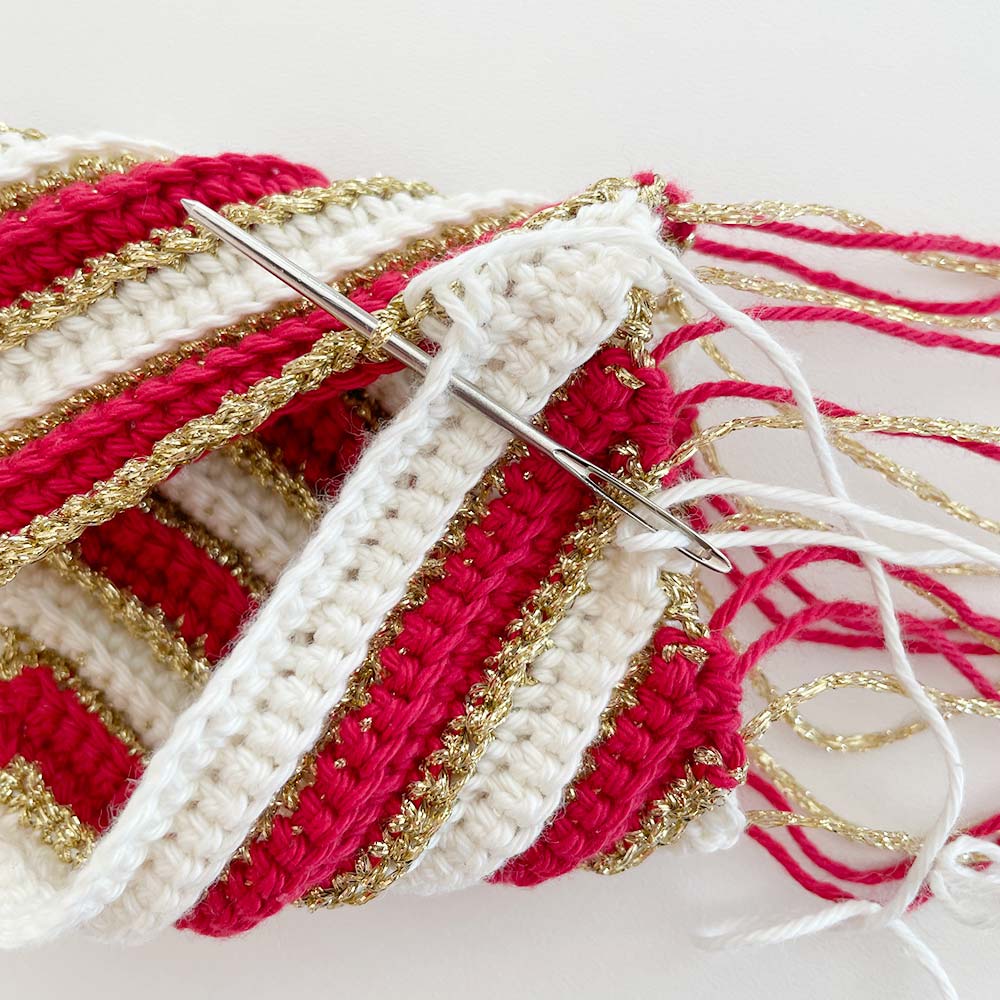
Sew it together, so you get a tube. Fold the ends in over the piece, and sew around so you start in the chain row, and sew it to the inner loop in the top row. That makes it pop up nicely like the other rows, and the seam becomes invisible. Tighten it well while sewing.

With some good large stitches, you sew around the ends. Then you can pull it together, so that the hole closes. If the hole isn’t completely closed or you want a certain color to meet in the middle, just take one more round. Here you only sew in the color you want to meet in the middle. It’s well explained in the video here.

Fill it WELL so it gets completely firm and round. Now take a new thread (or the thread left from the end, if it was cotton) and sew around again.
REMEMBER: If you want a single thread in as a strap / hanger that comes up from the middle (thread with a bead at the bottom, so it does not slip), then you out it in before you close the hole. Here you can use a French knot – watch the video on The Eyes of the Comfort Mouse.
Just wow 😍

Take a look at what you made! Give yourself a good pat on the back and enjoy it for a moment. That’s well done 💪😍❤️
I have made some helpful videos that should make it easier for you to understand the pattern. It’s just usually easier in live pictures 🙂 All videos are made and edited by Milla Billa. Music by www.bensound.com